Creating a New User
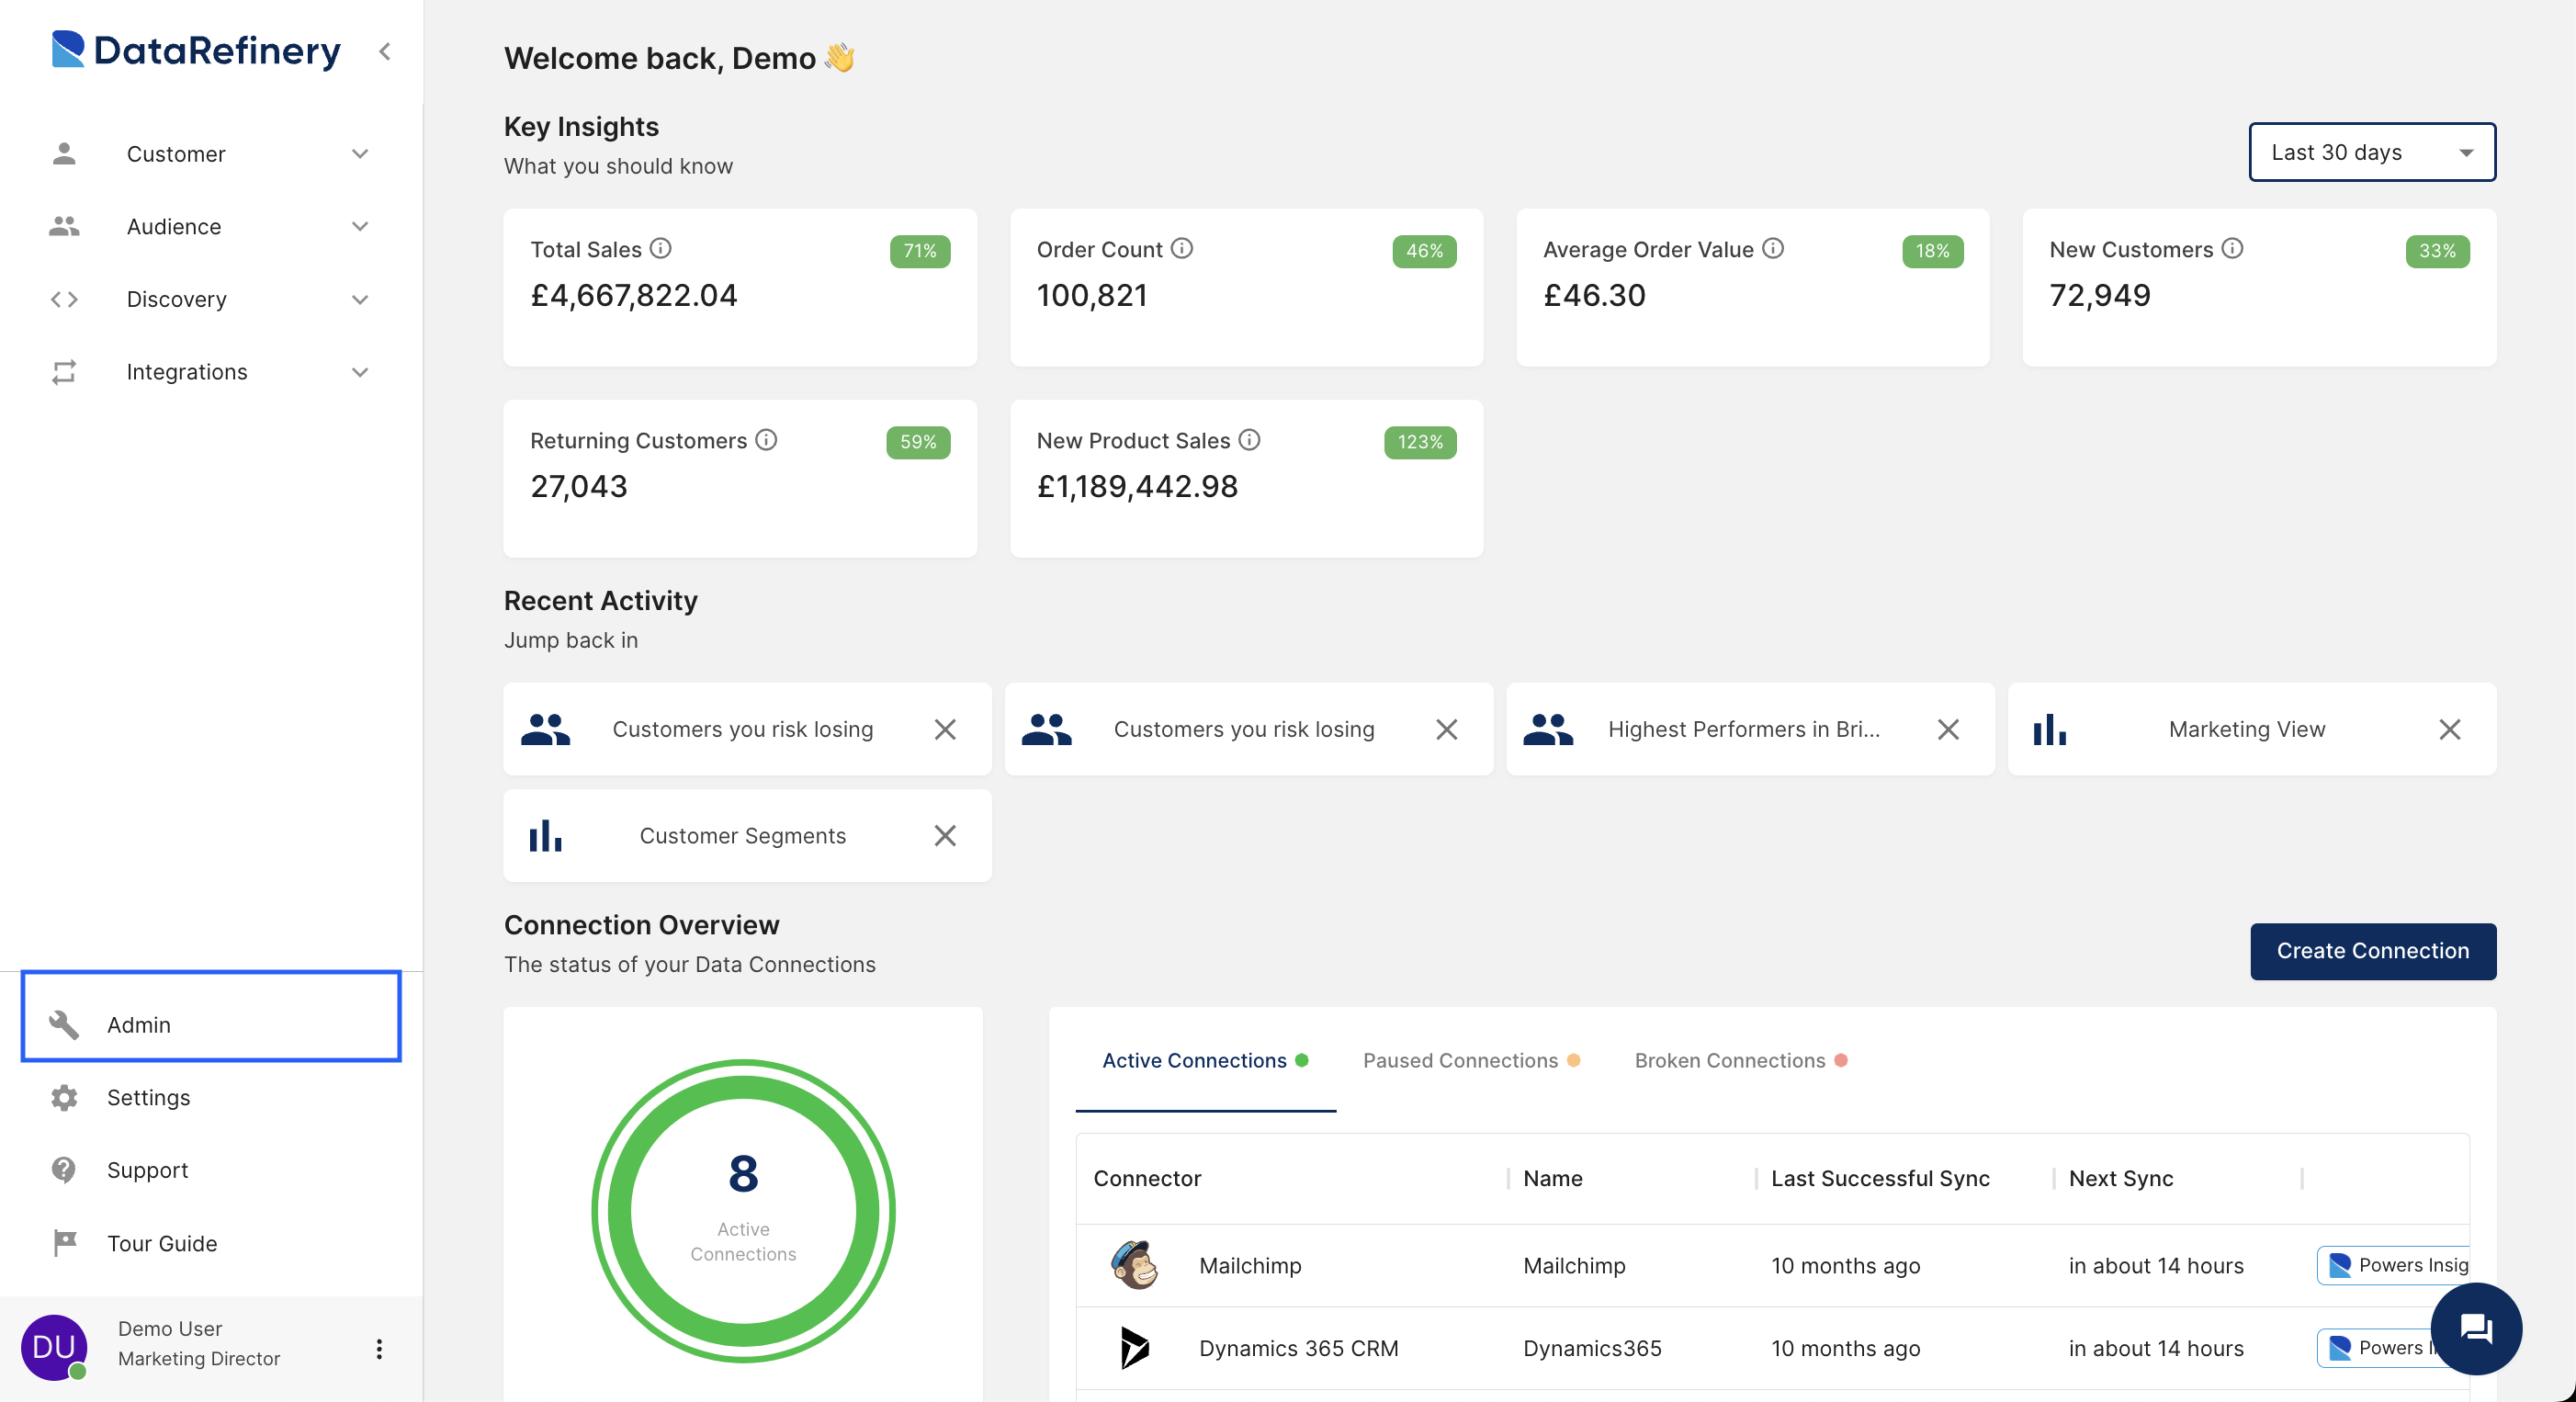
Opening Admin Settings
To create a new user in The Data Refinery, start by accessing the Admin Settings located at the bottom left of the Side Bar menu. Click on Admin to enter the admin view.
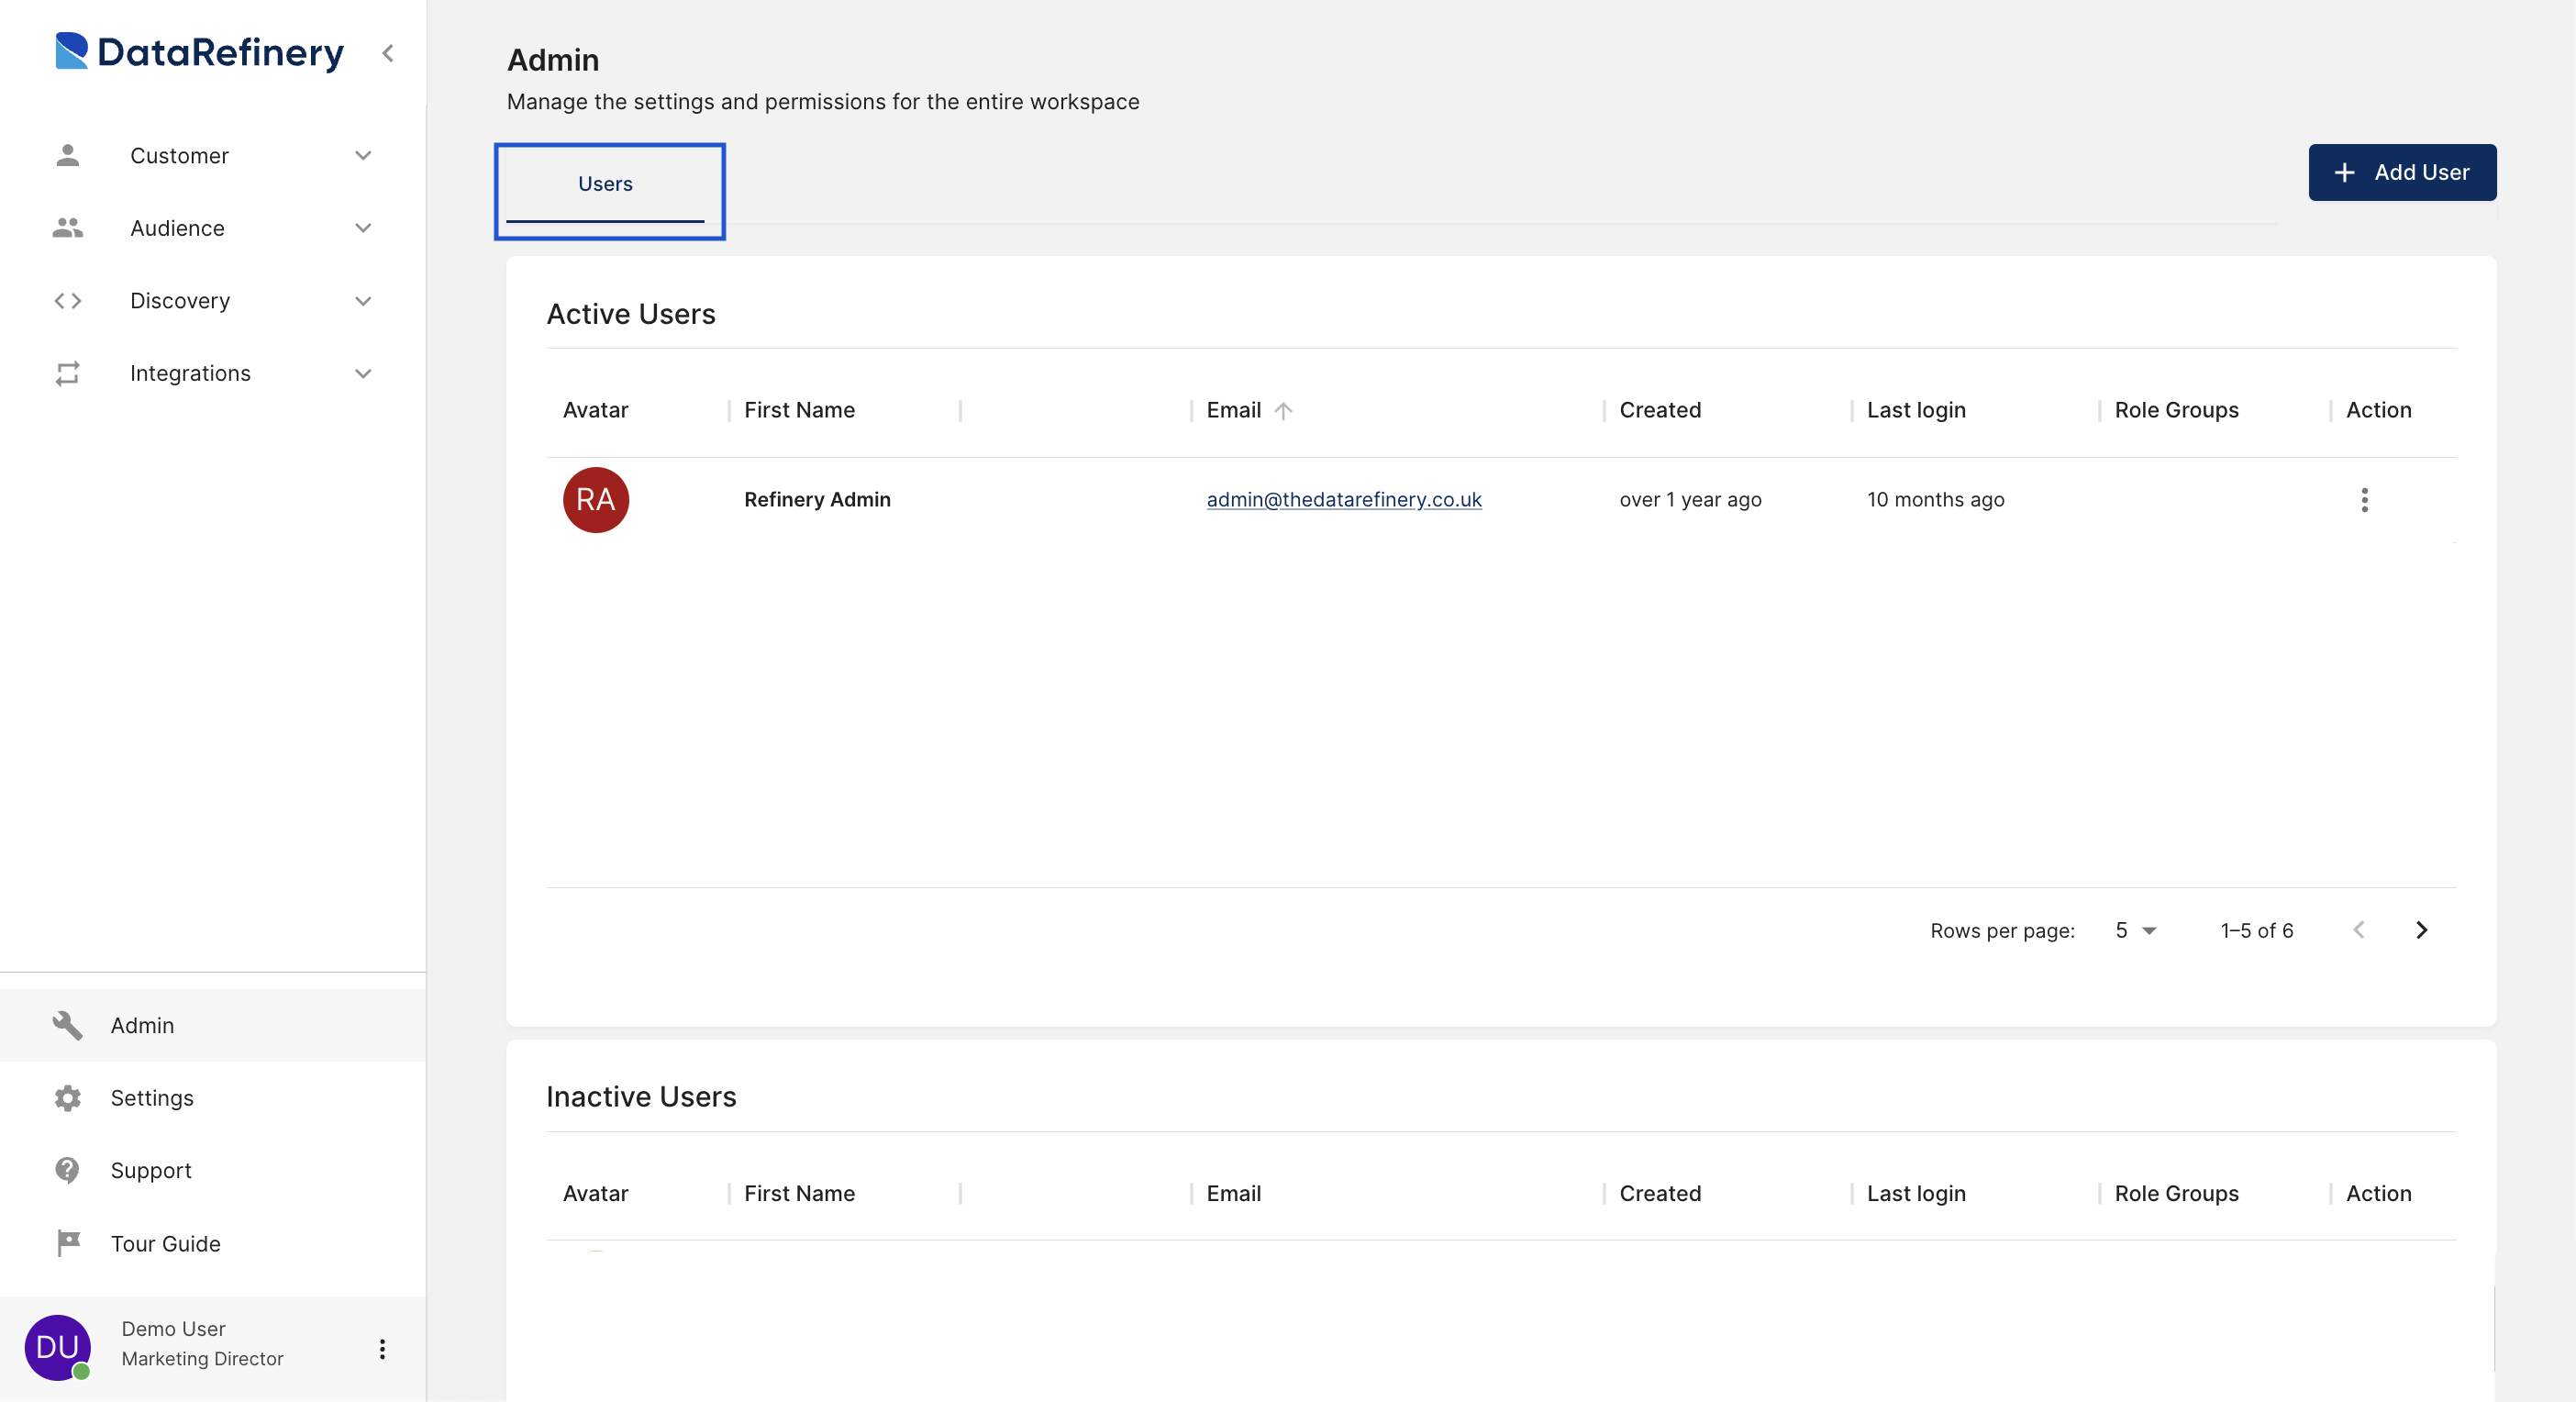
Selecting the Users Tab
Within the admin view, there might be multiple tabs. For this tutorial, choose the Users tab. Clicking on the Users tab will display a list of active and inactive users in your Data Refinery instance.
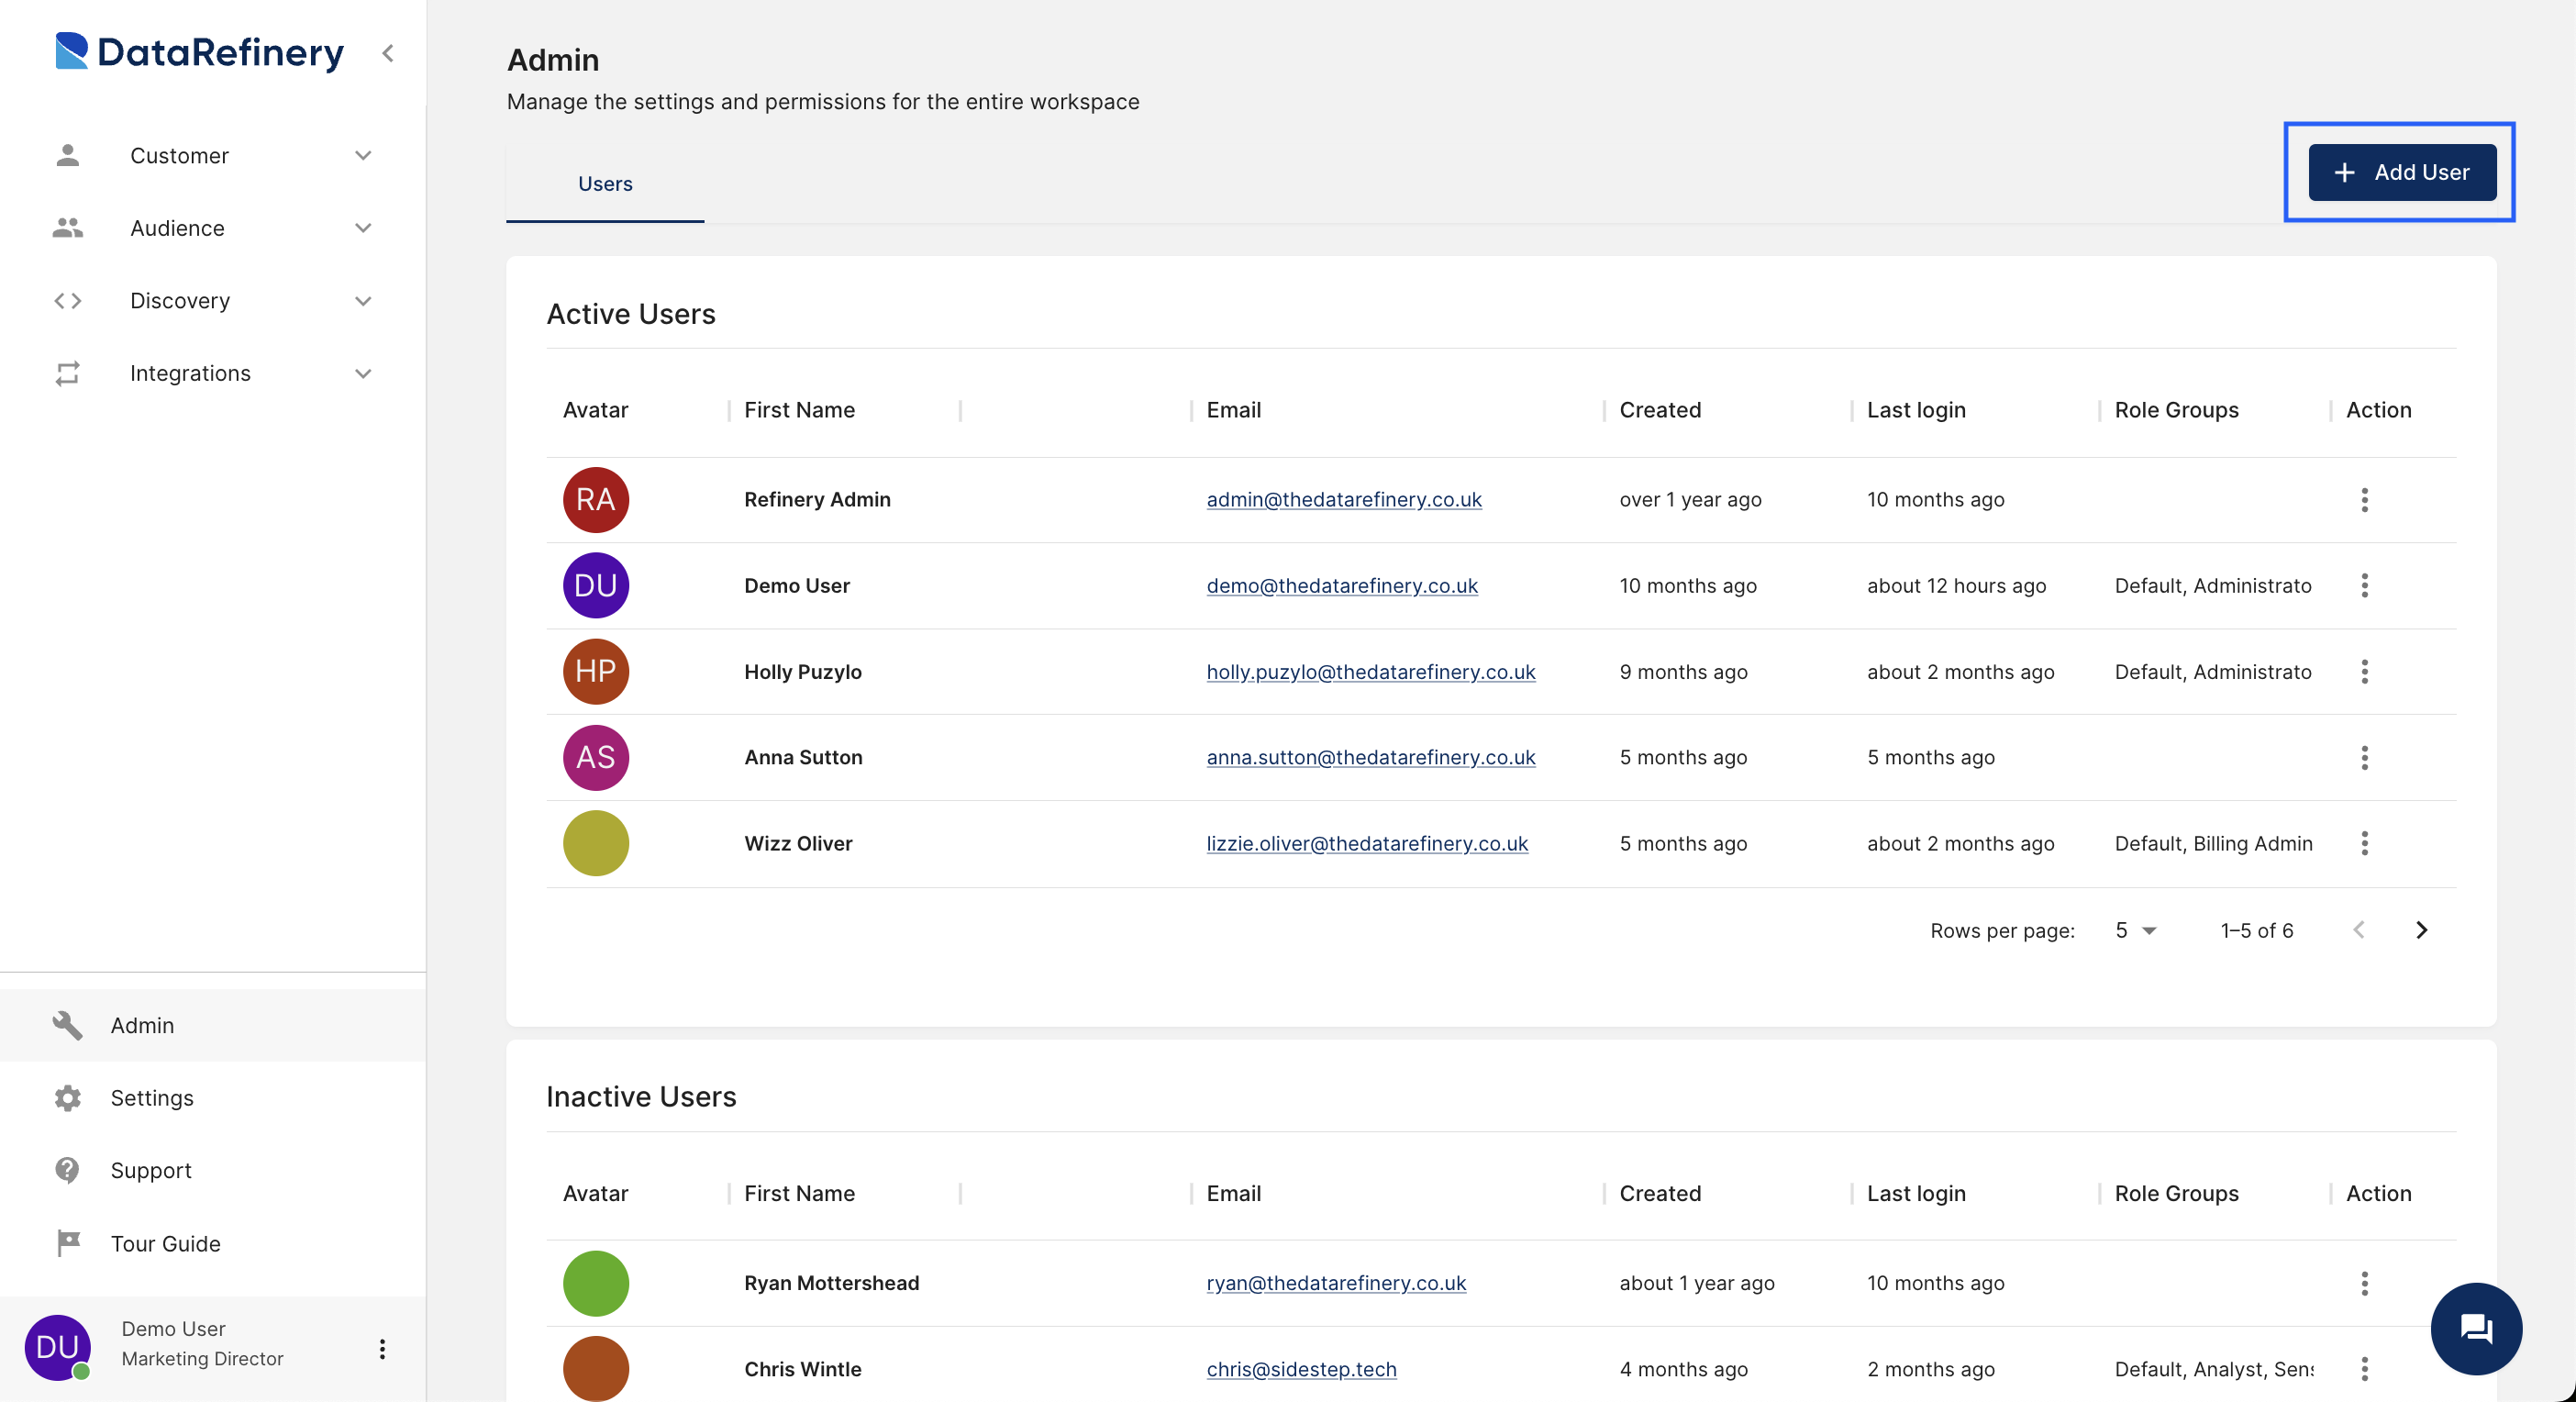
Adding a User
To add a new user, click the Add User button to open the Add User form.
Fill in the user's First Name, Last Name, Email, and select the appropriate role from the following options:
Default Roles: This role applies to every user in The Data Refinery.Administrators: Grants access to all features.Analyst: Provides read and write access to core Refinery features.Billing Administrator: Access to The Refinery's Billing console.Sensitive Data Viewer: Allows users to view low-level sensitive PII (Personal Identifiable Information).Read-only Analyst: Grants Analyst roles with read-only access.
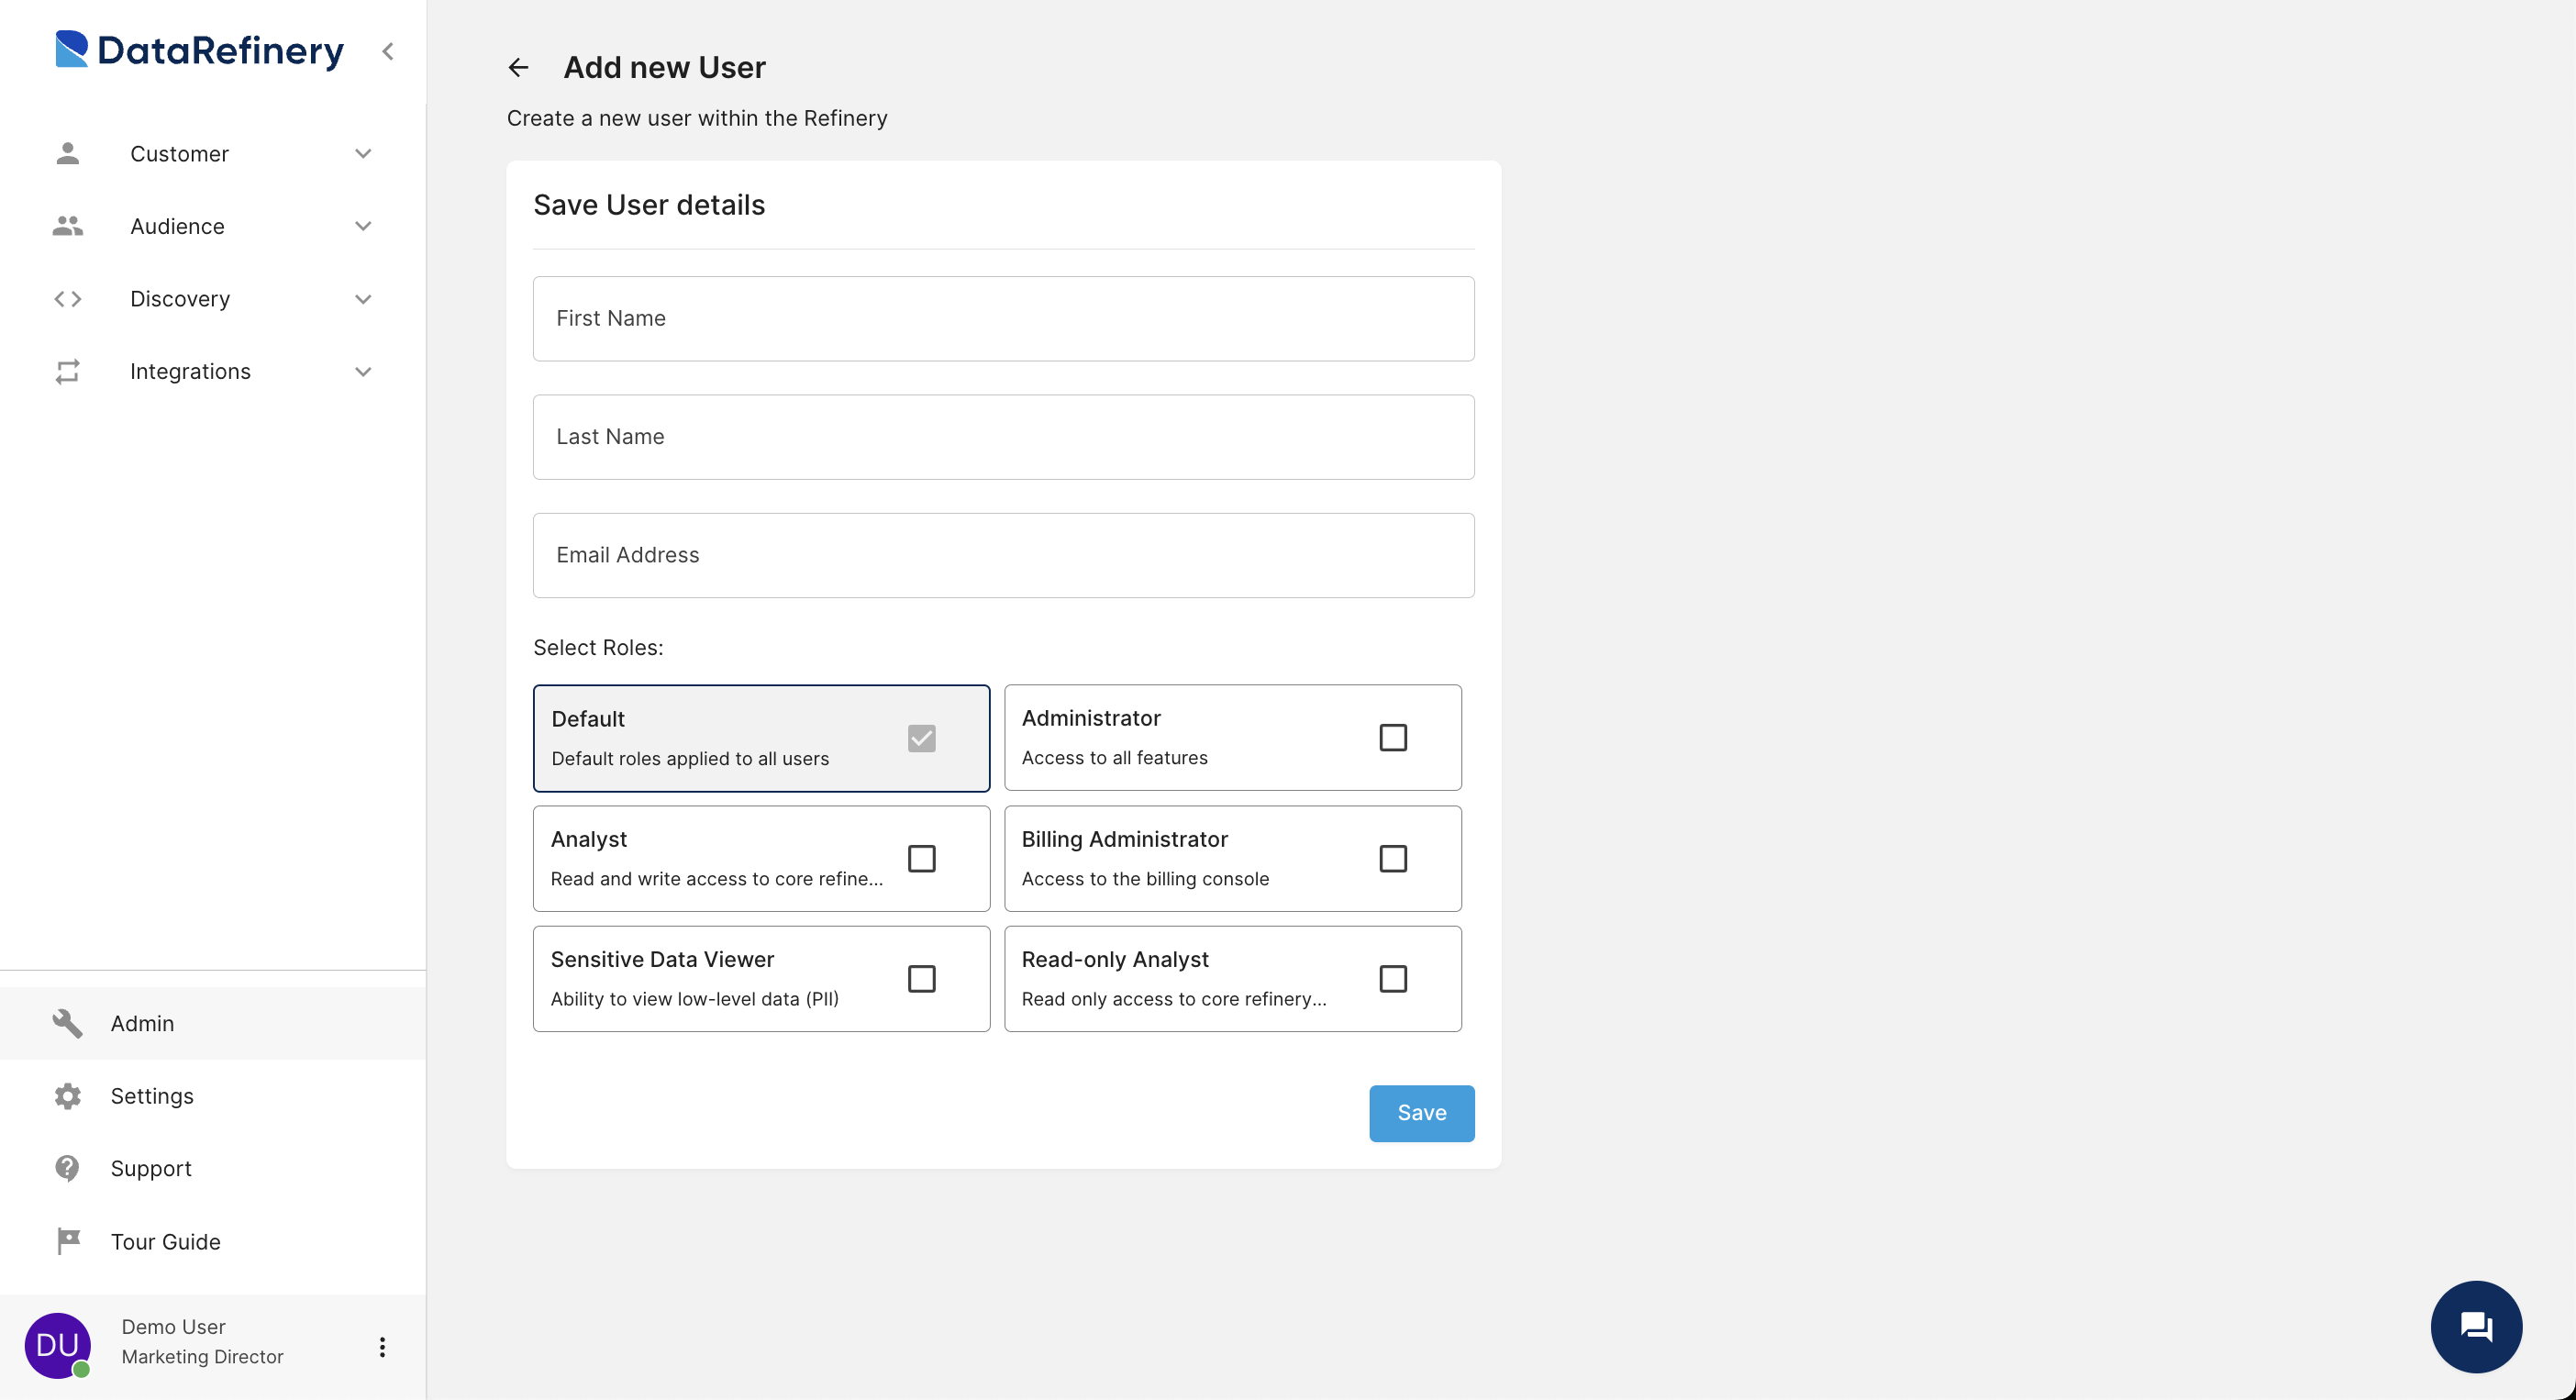
After entering the user details and selecting the role, click Save. The newly created user will now appear in your users list.
Editing a User
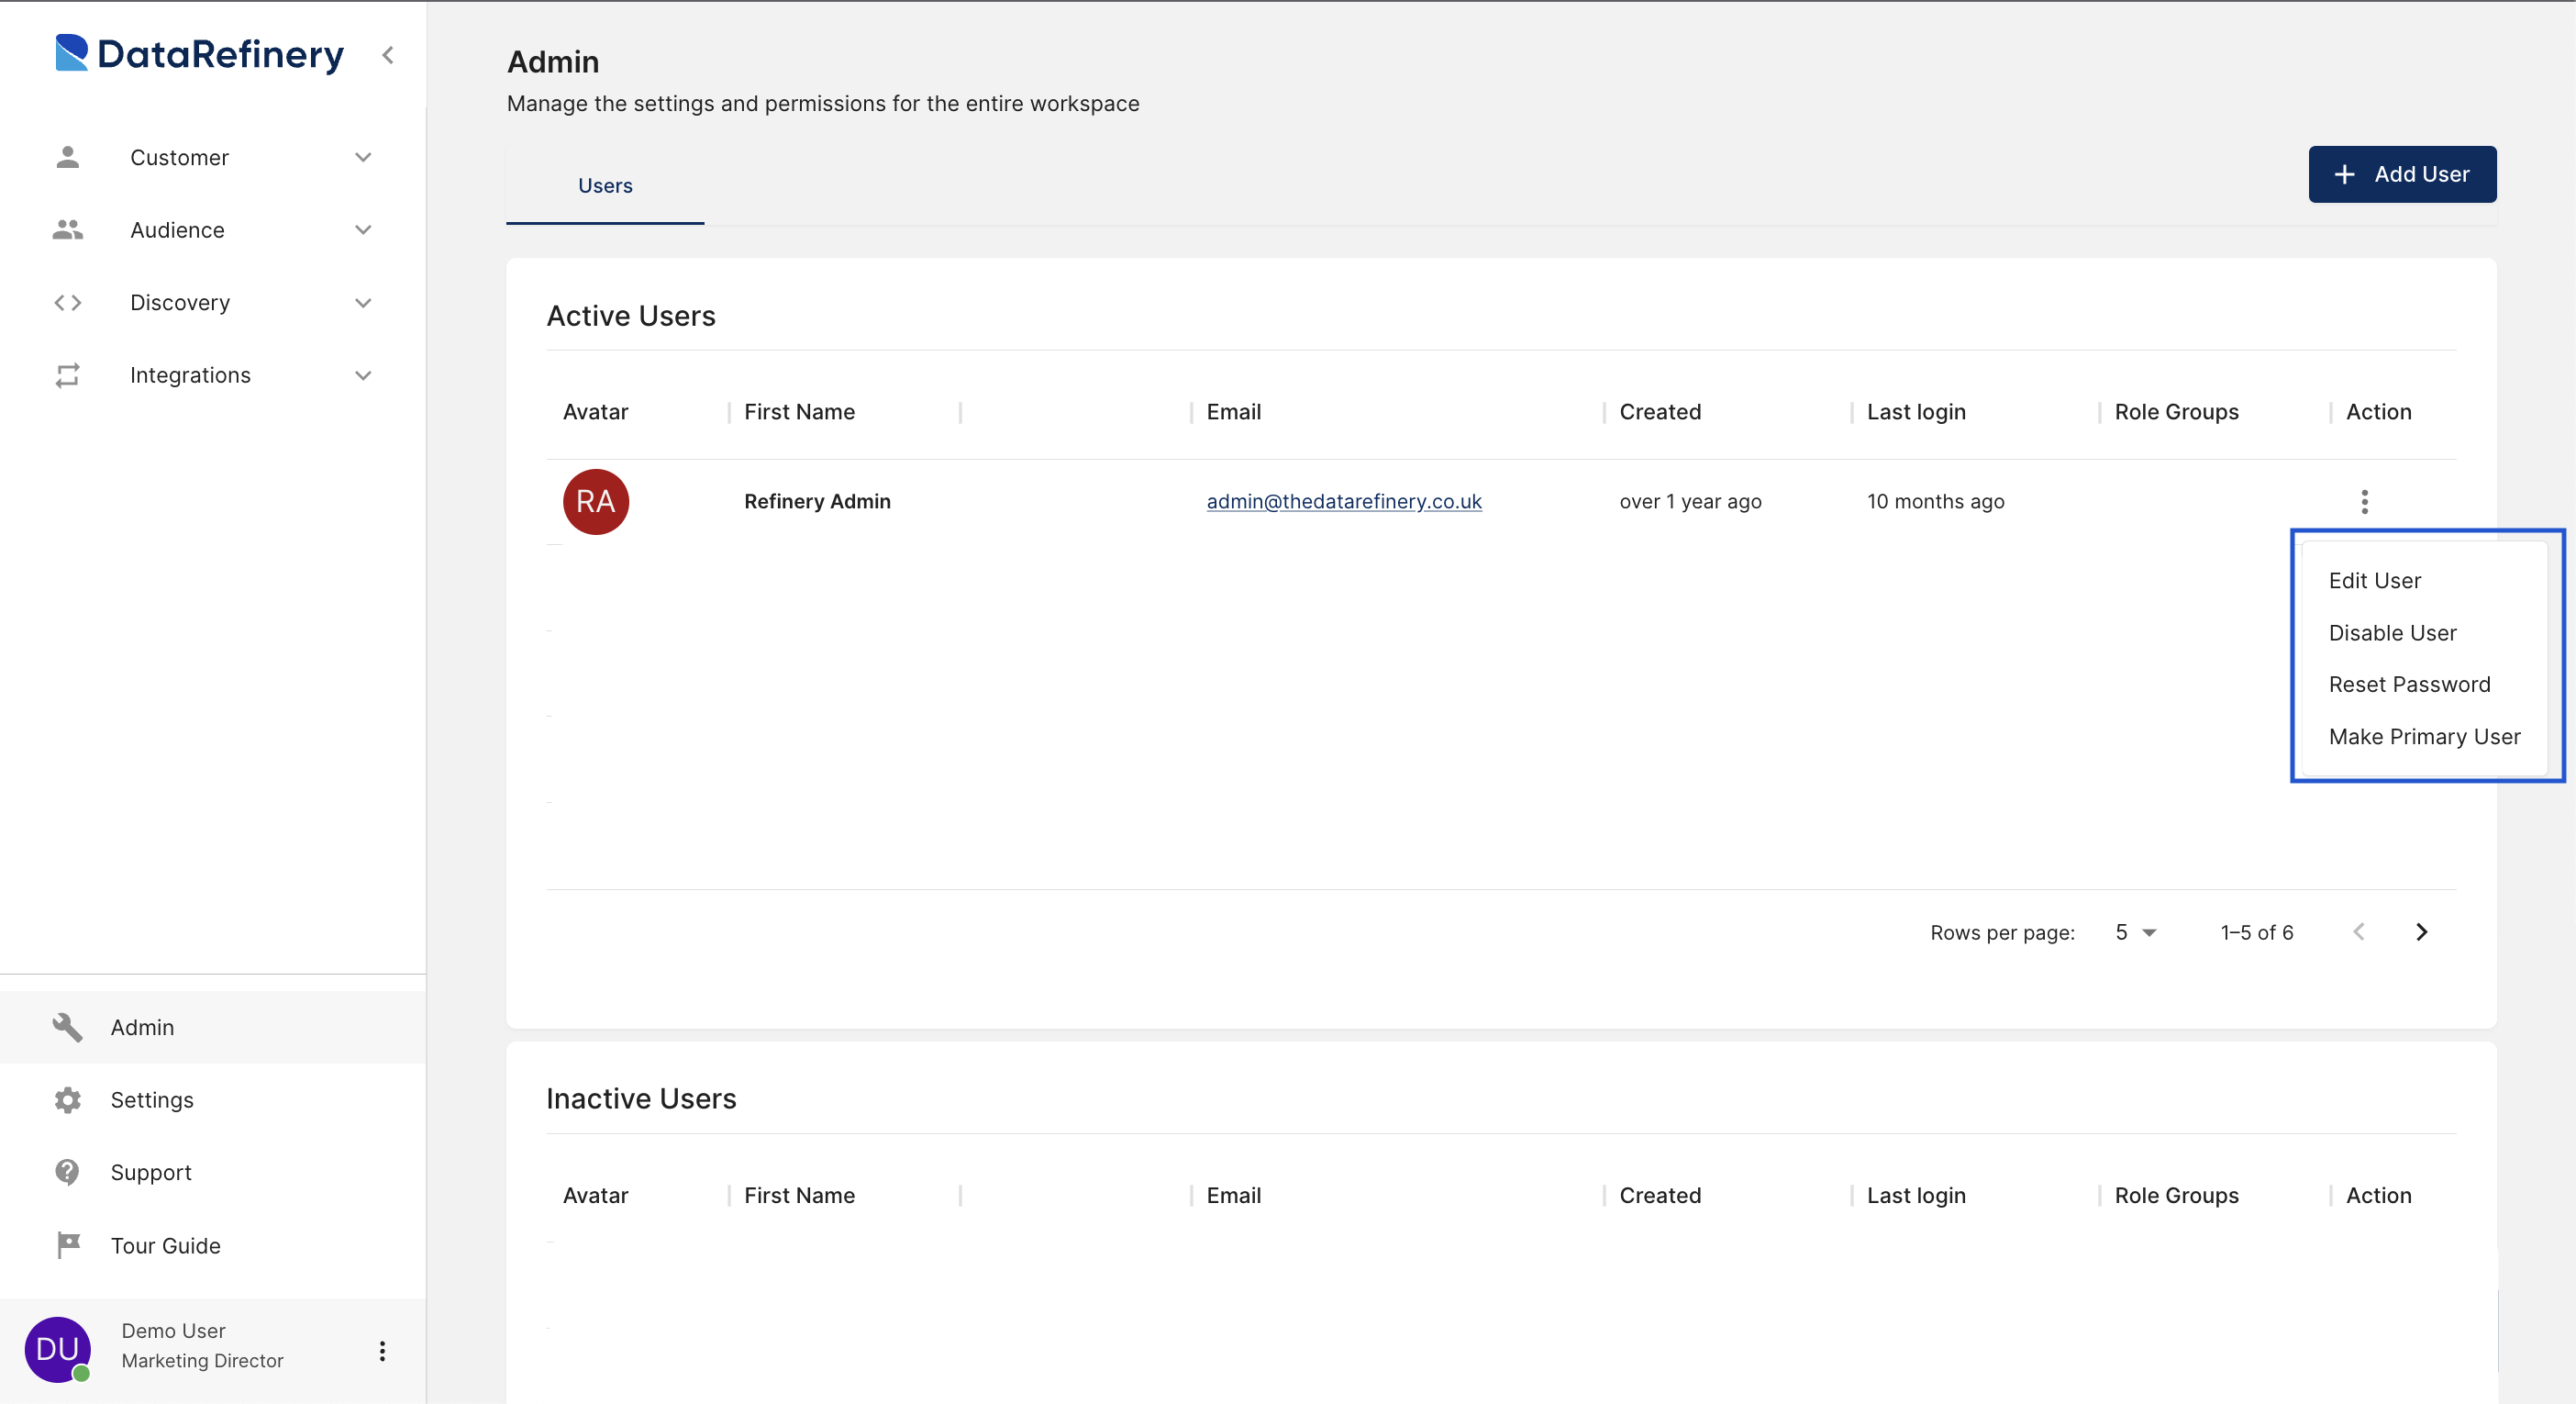
If you need to edit a user, locate the user in the users table and click on the actions icon next to their name. From here, you can:
Edit User: Redirects you to the edit screen, allowing you to modify user details.Disable User: Disables all access for this user, preventing them from logging into the platform.Reset Password: Resets the user's password.Make Primary User: Designates the user as the primary user.
