Creating an Audience
Segmenting your customers into audiences is an excellent strategy to categorize your customer base into focused subsets, enabling you to craft personalized and highly effective marketing campaigns. Allow us to guide you through the process of creating an Audience.
Step 1 - Navigating to the Audience Builder
The Audience Builder can be located within the Audience section in the side navigation menu.
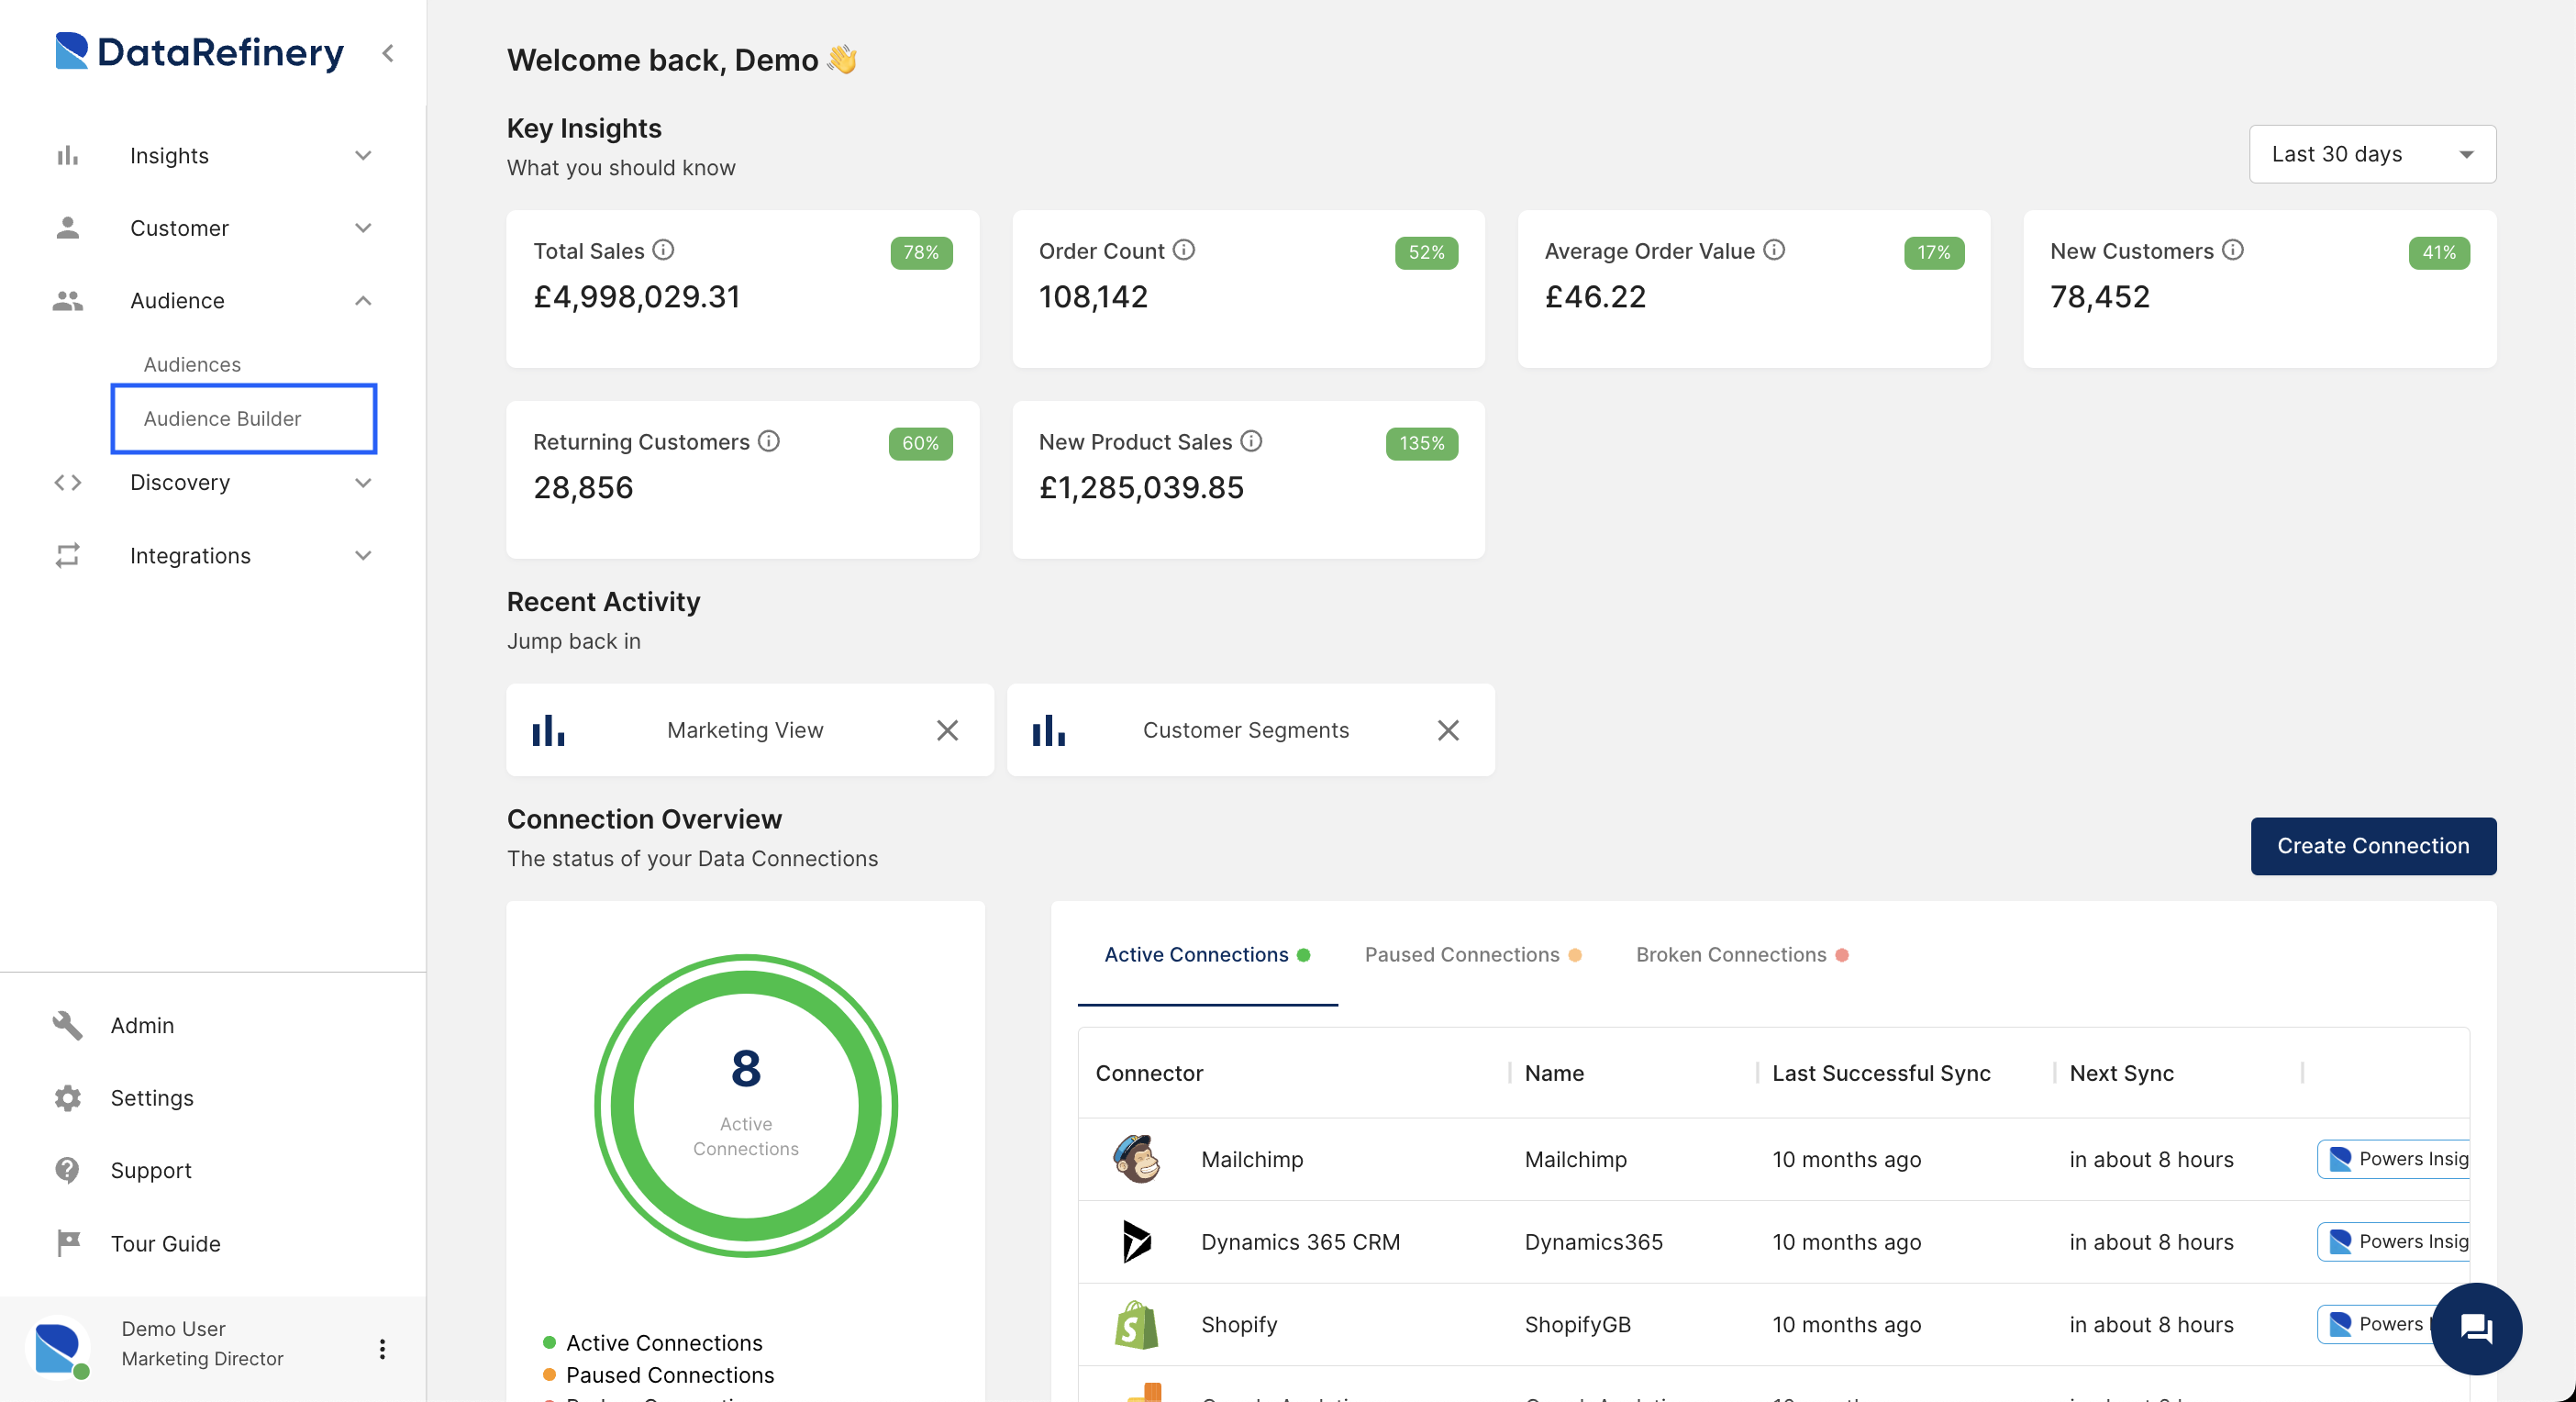
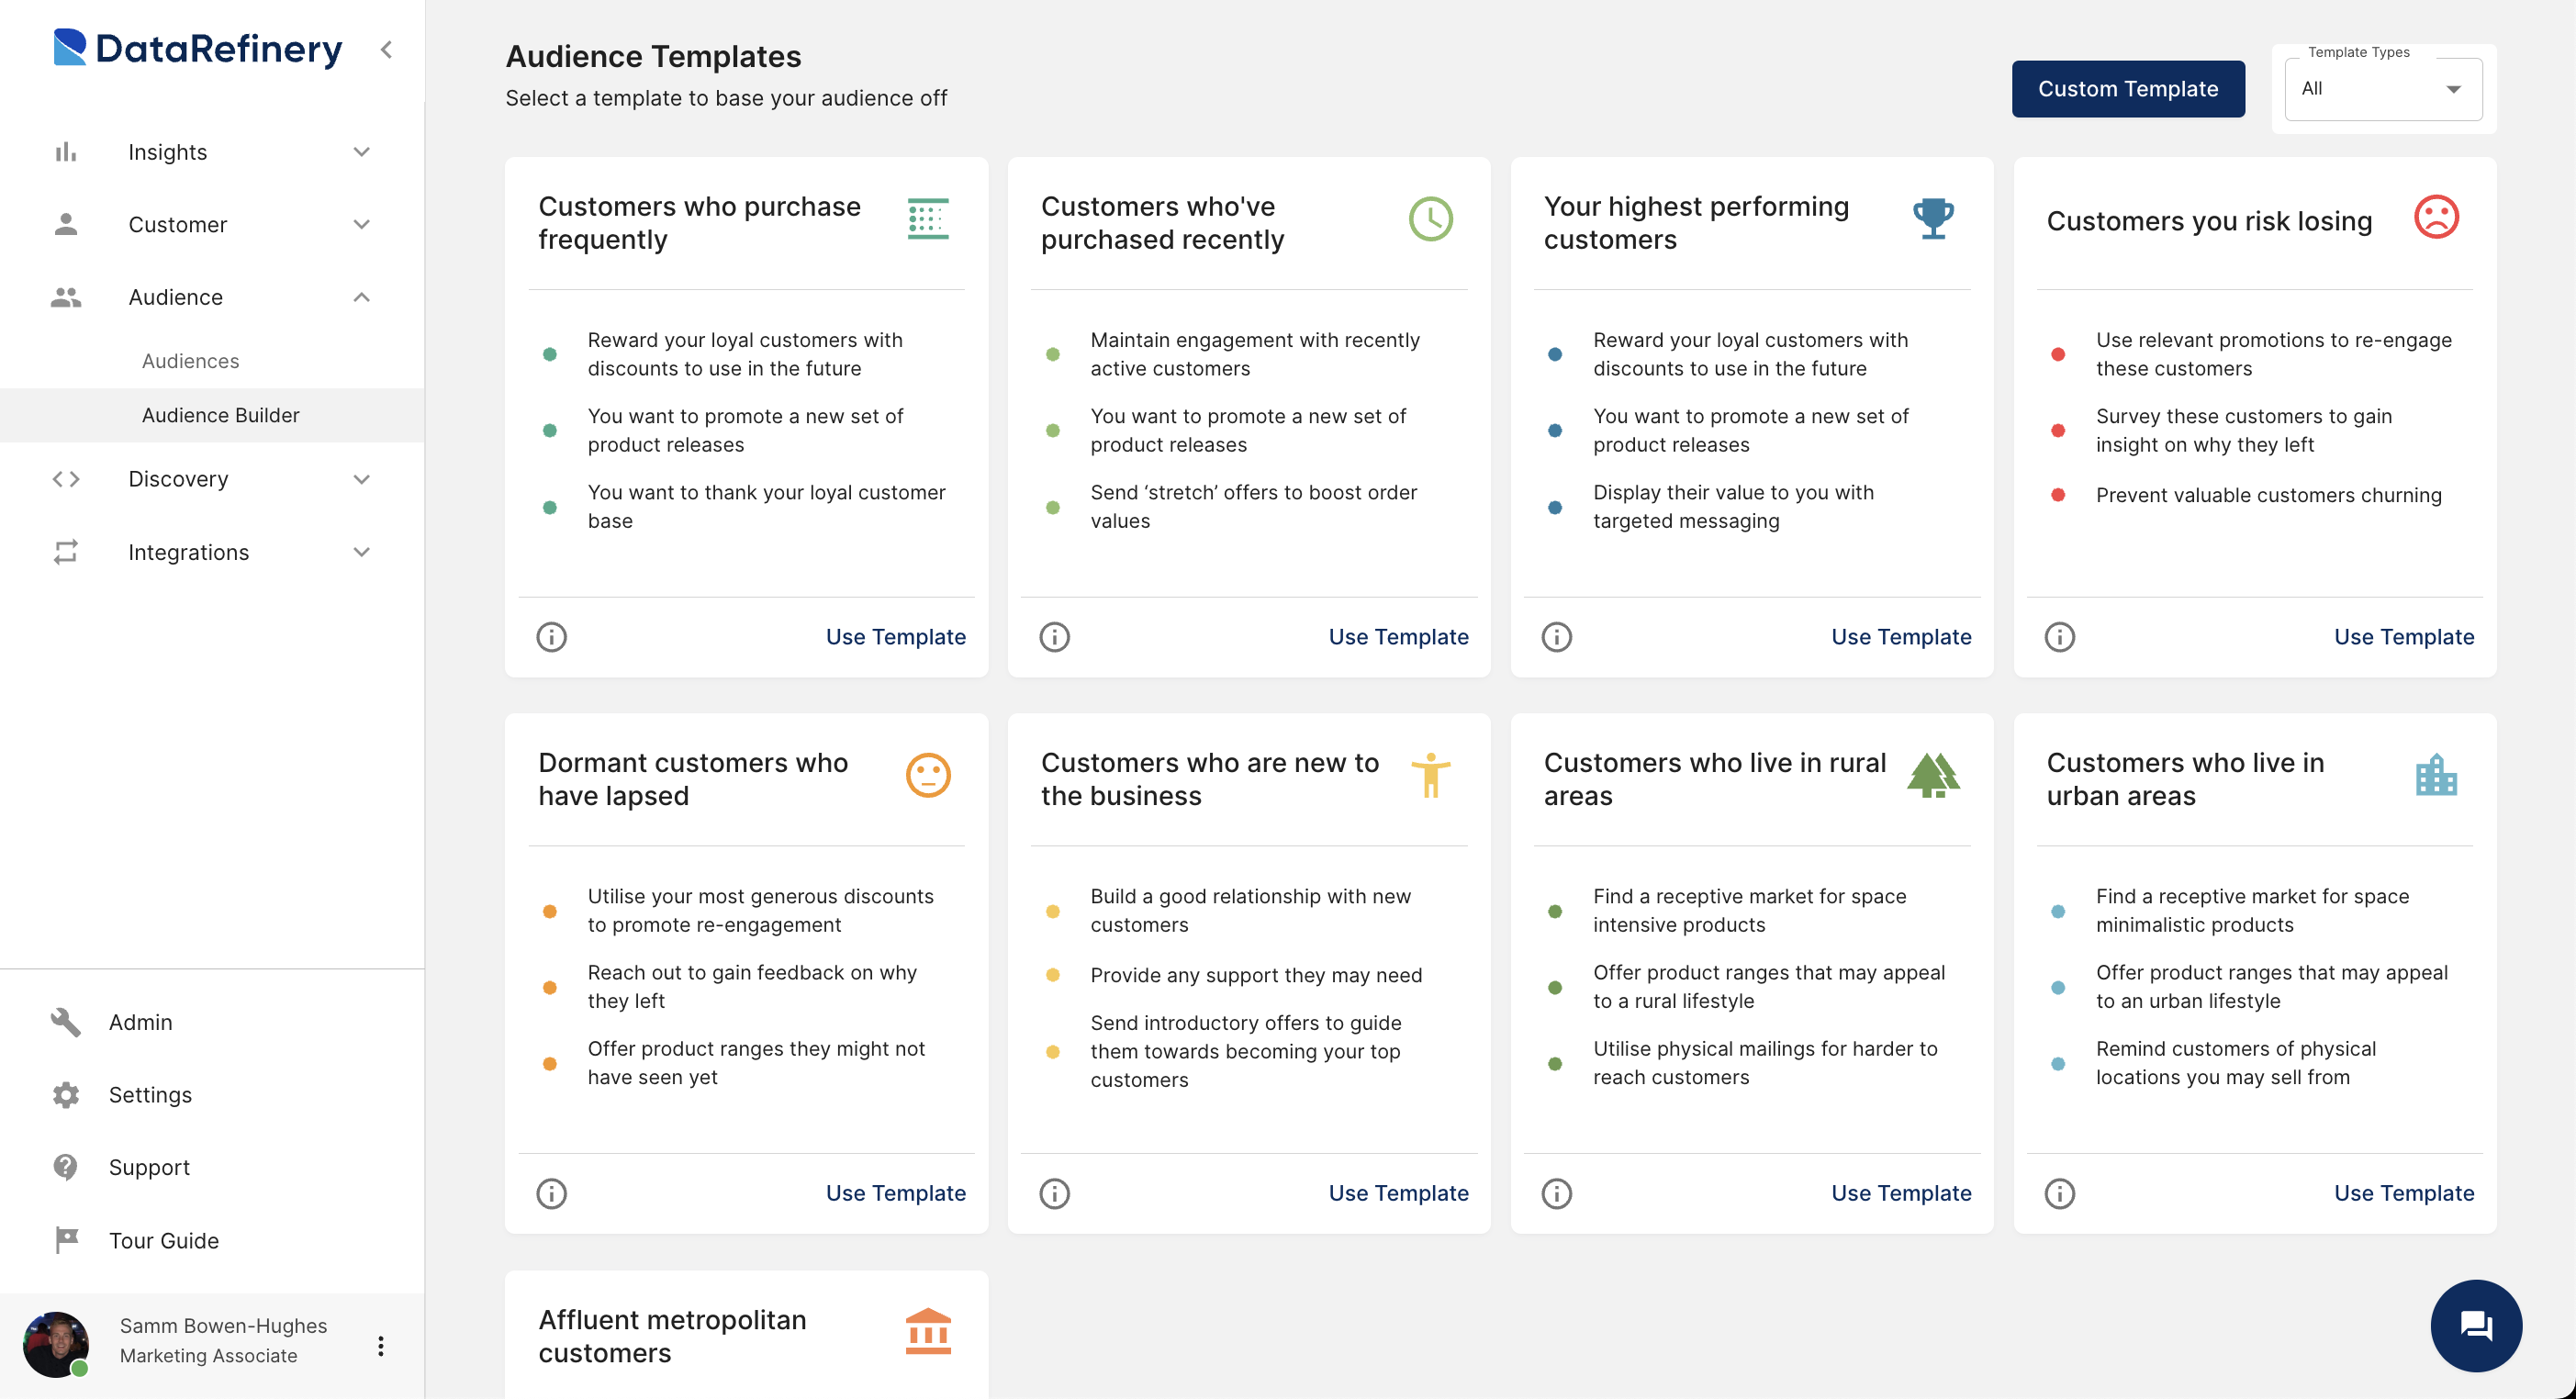
Step 2 - Choosing an Audience Template
The Data Refinery provides you with a selection of preconfigured templates to base your audience on. While not mandatory, these templates are available for your convenience. It's important to note that any template can be modified or extended. Alternatively, you can create a new audience template from scratch.
Step 3 - Building Your Audience
After selecting an Audience Template, you will be directed to the audience builder screen. In the example below, we've chosen to start with a blank audience.
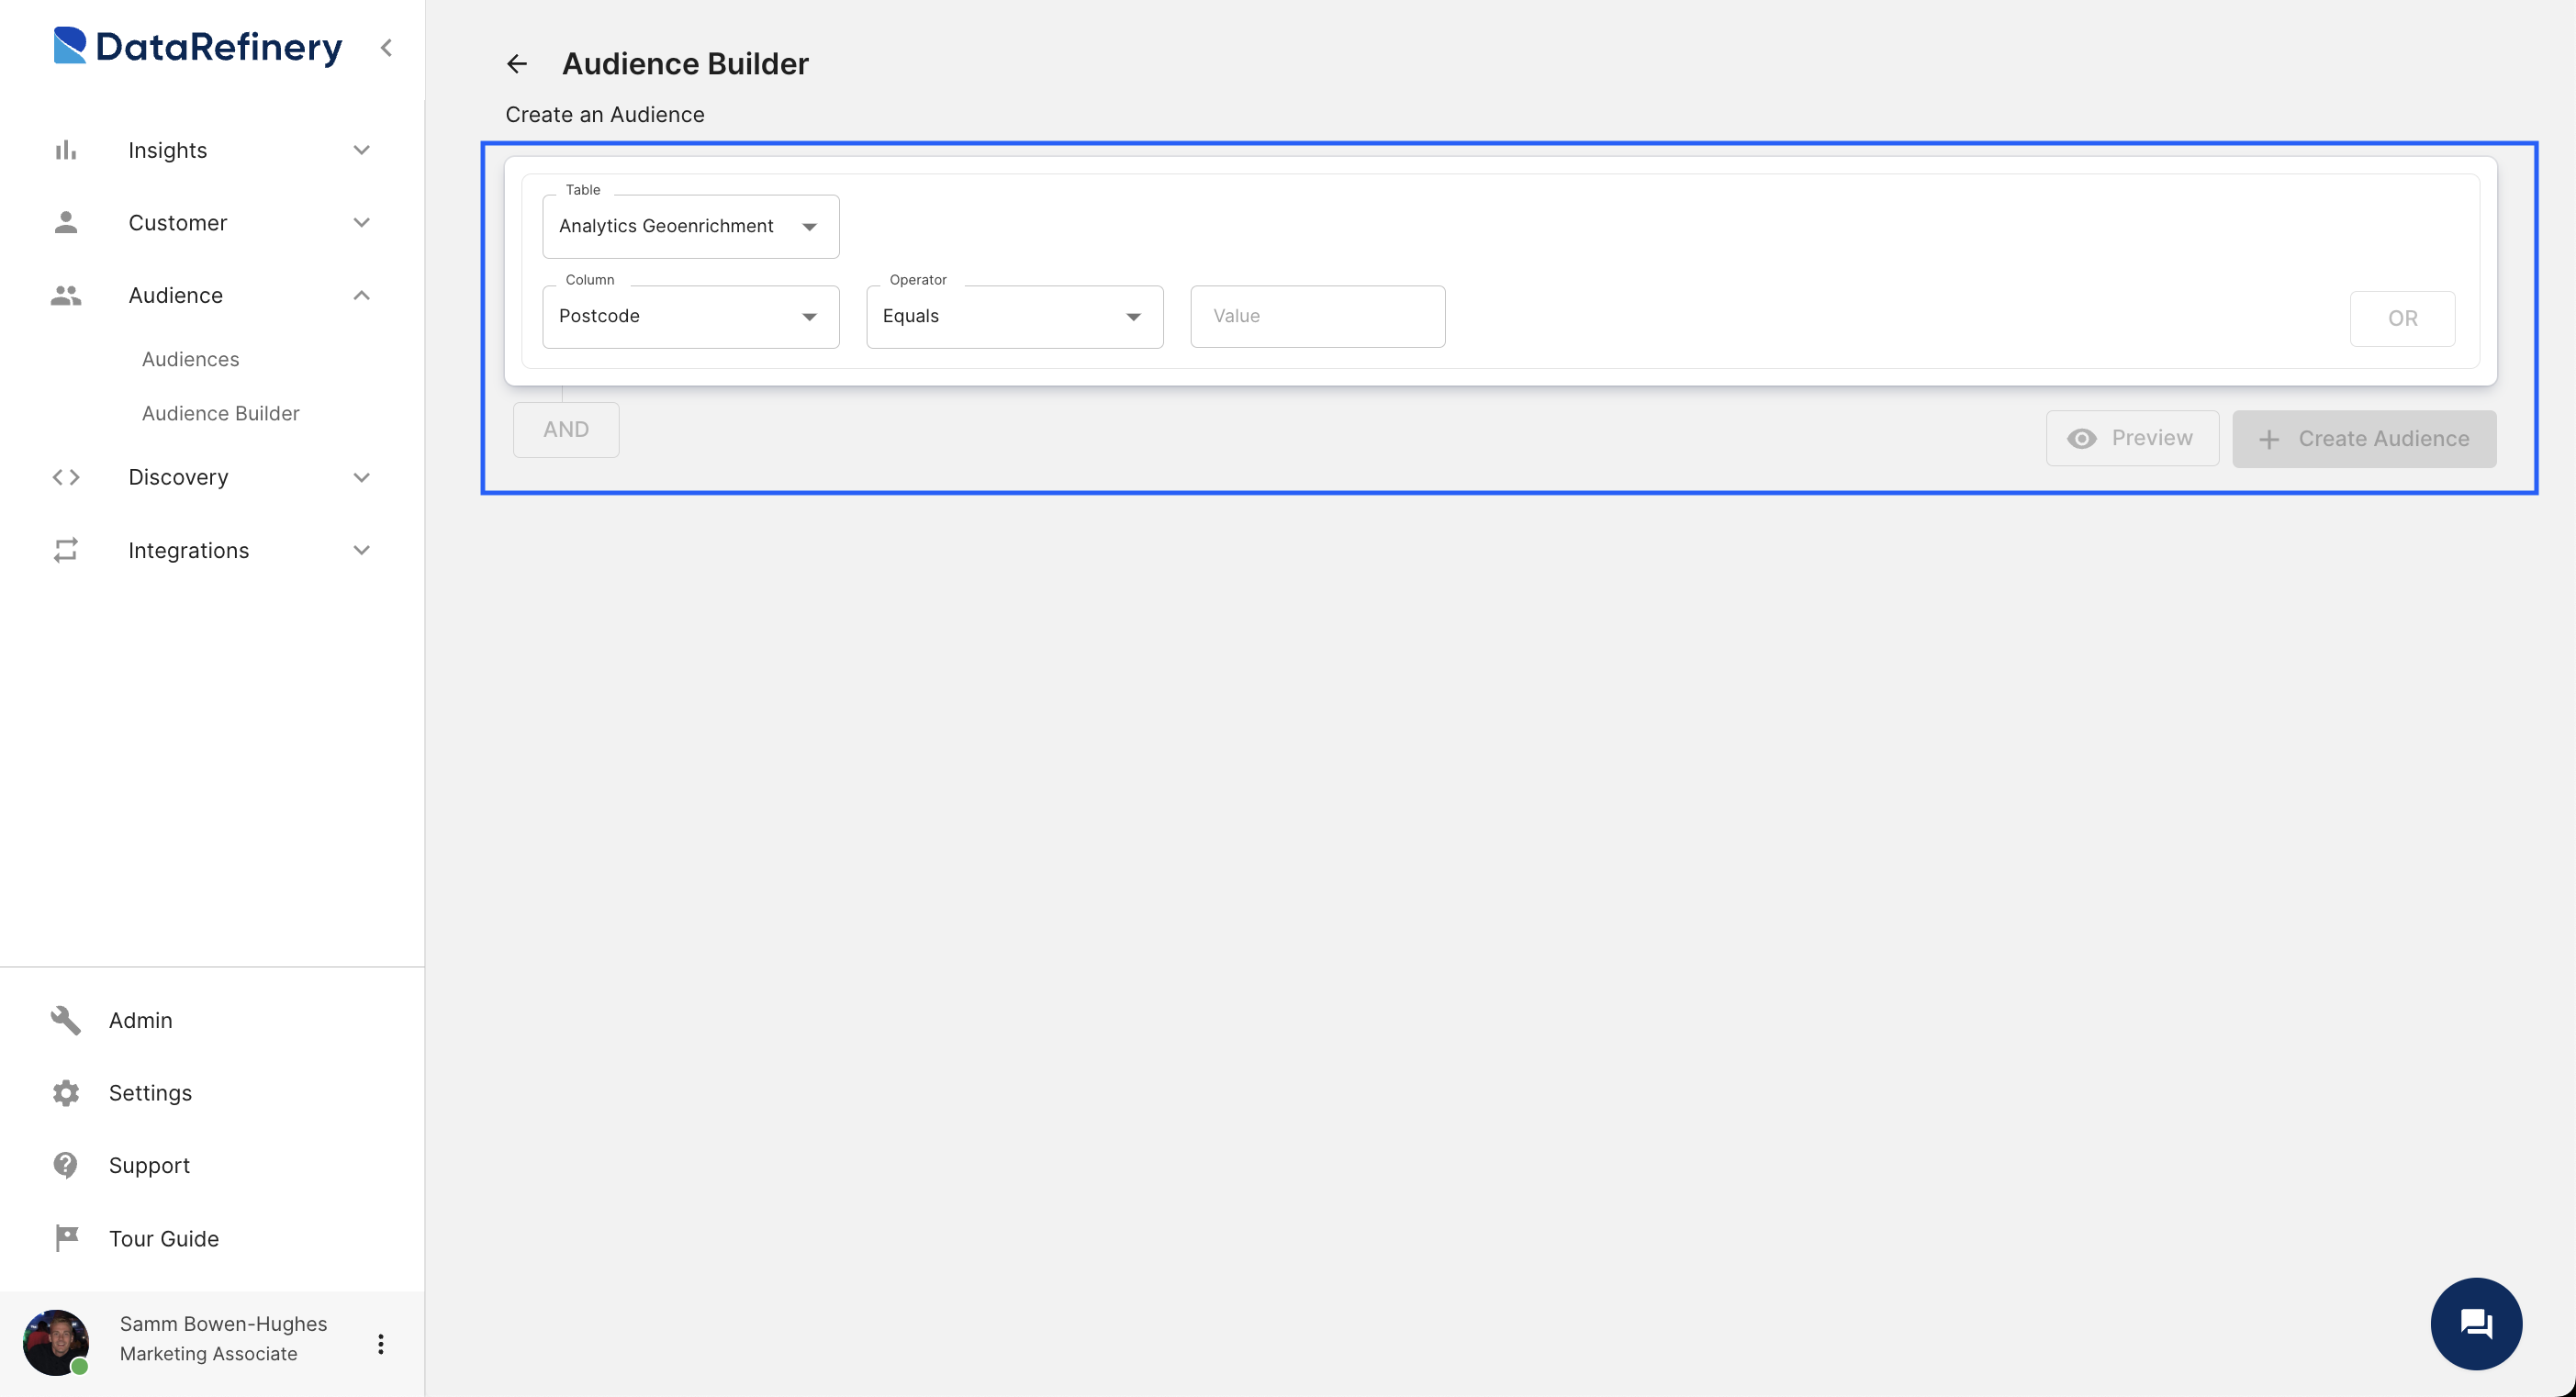
We will expand this audience to display specific criteria.
First, select the table from which you want to retrieve data. For instance, choose Geoenrichment in this example, allowing you to filter the data based on geographical information.

Update the column below the data source to focus on a specific data type, such as Settlement Type, using Open Data Geoenrichment. [Learn more about Open Data](TODO - insert link to open data).

Choose the "equals" operator. Set a value (e.g., "todo - blah") to filter customers residing in the selected settlement type. Step 2: Further refine the response by adding another condition.
Add an AND statement. Select the Order data type. Specify "Order date after 01/01/2022."
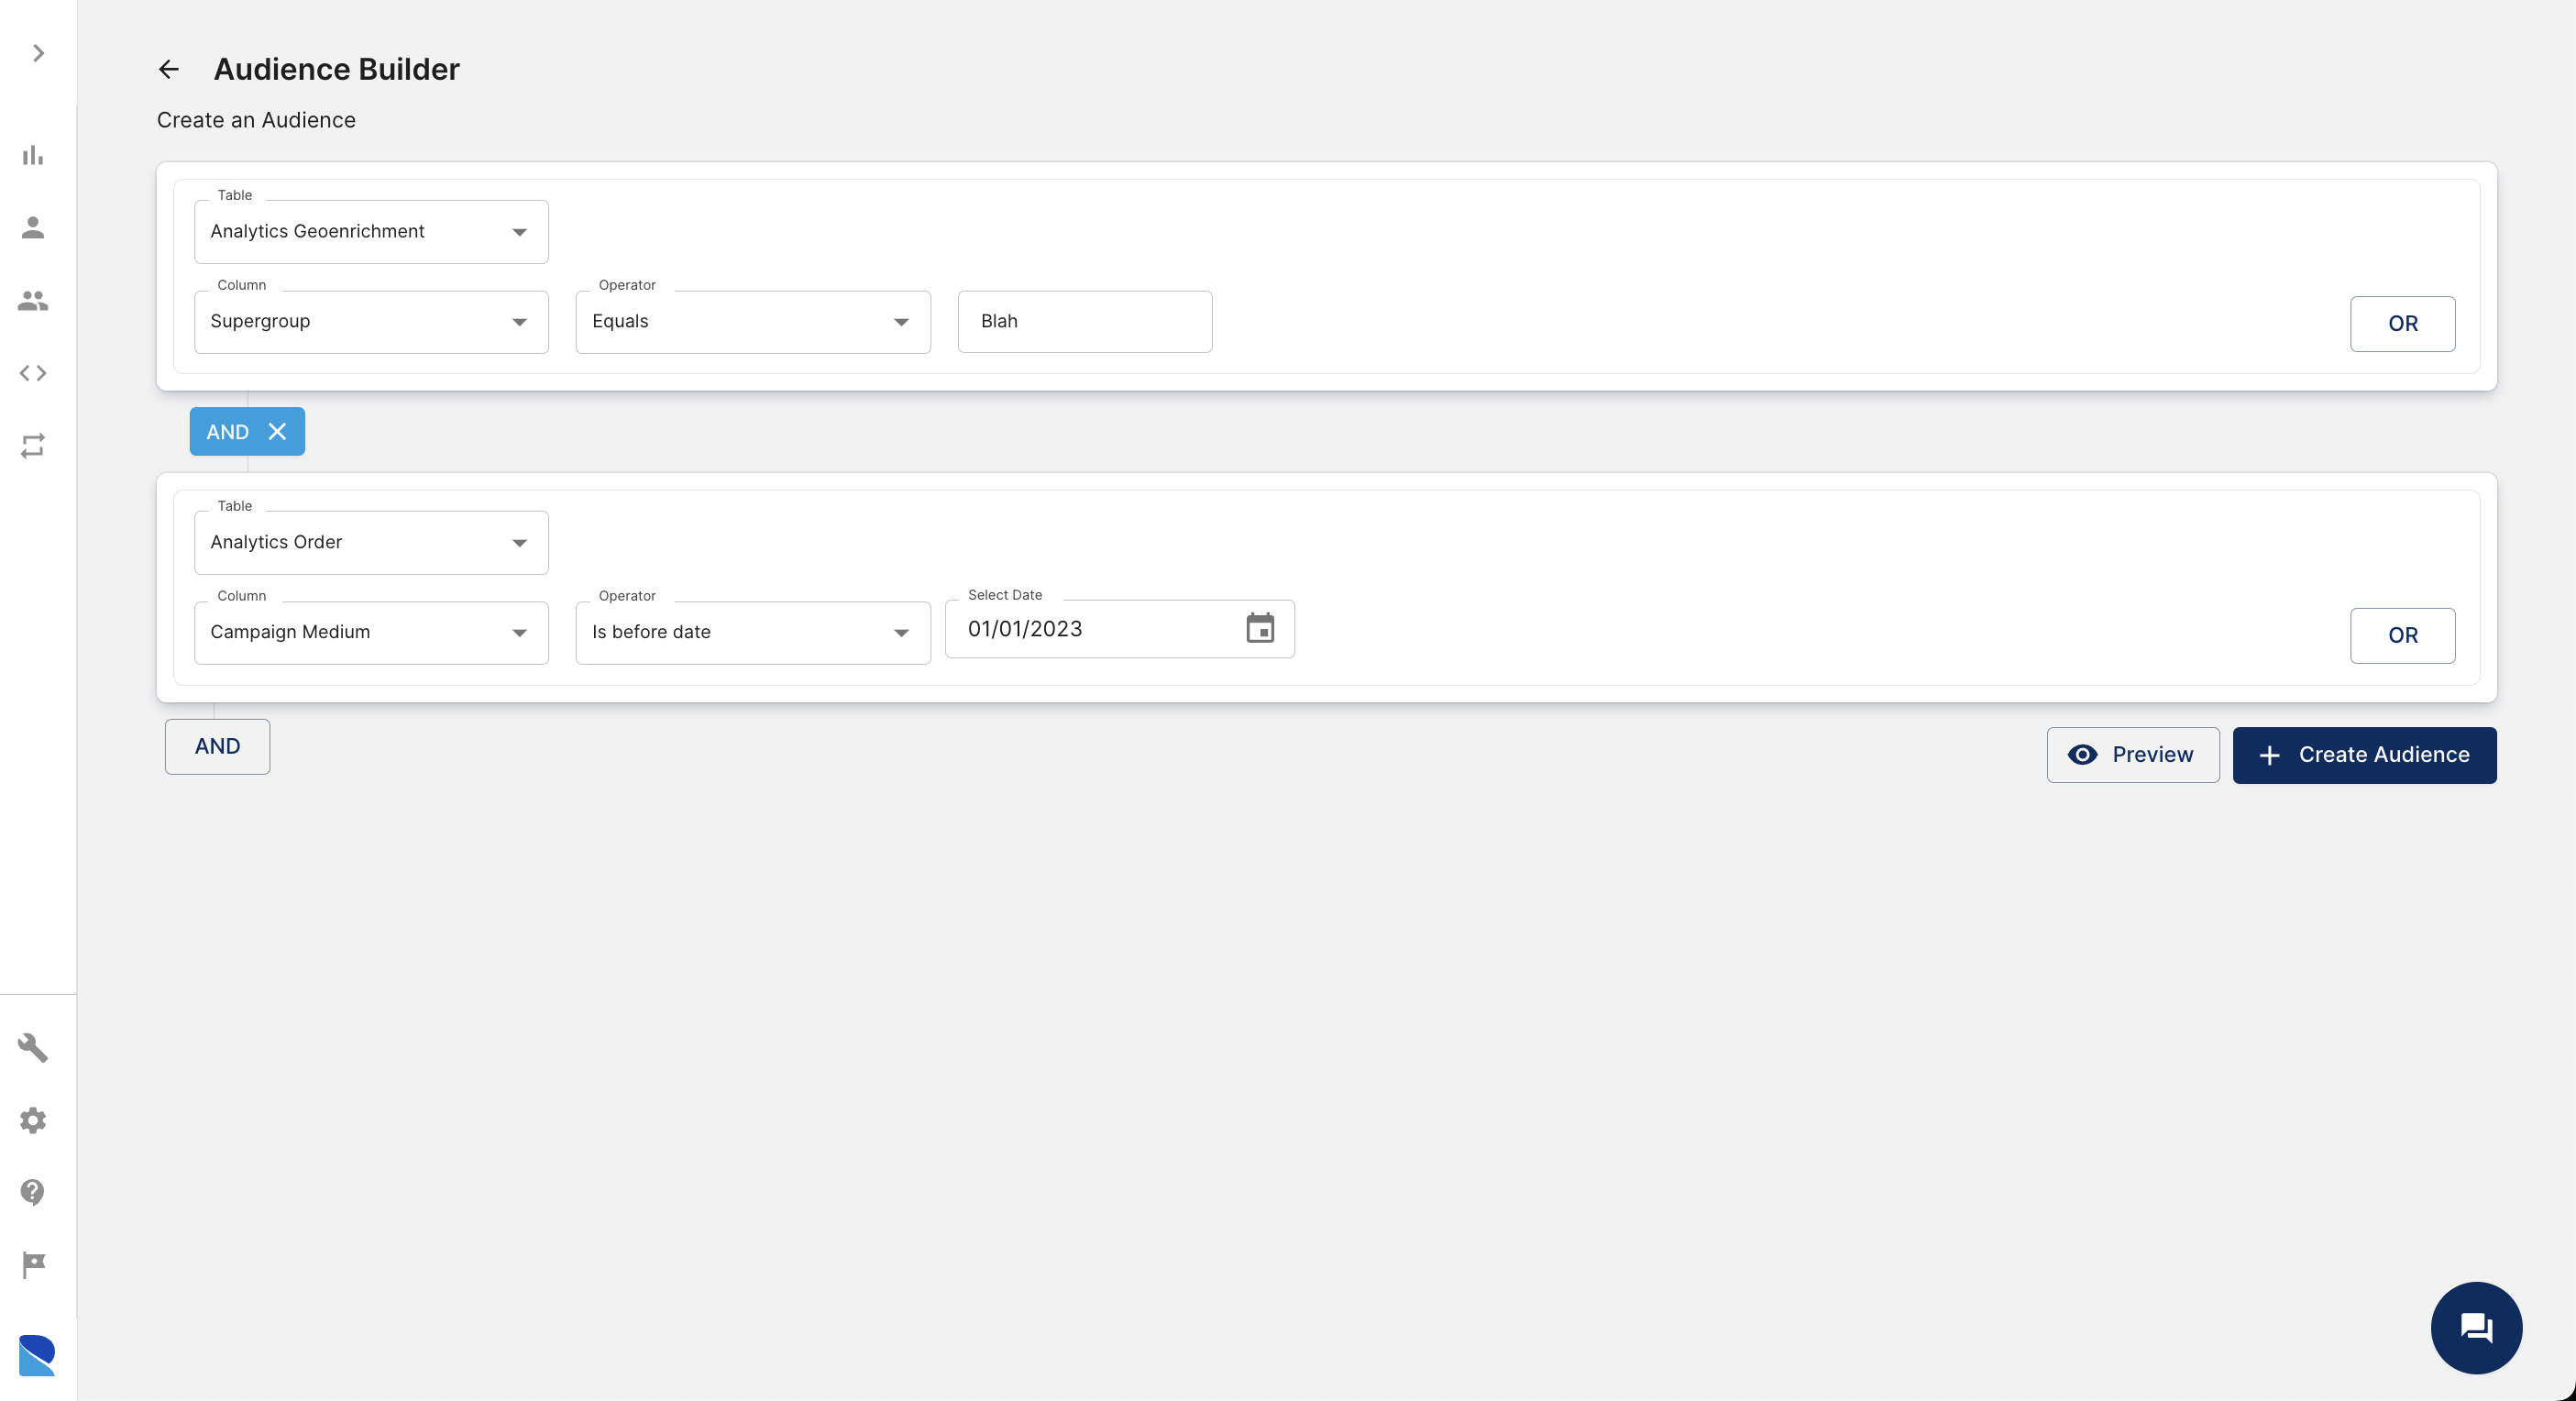
Step 4 - Previewing Your Audience
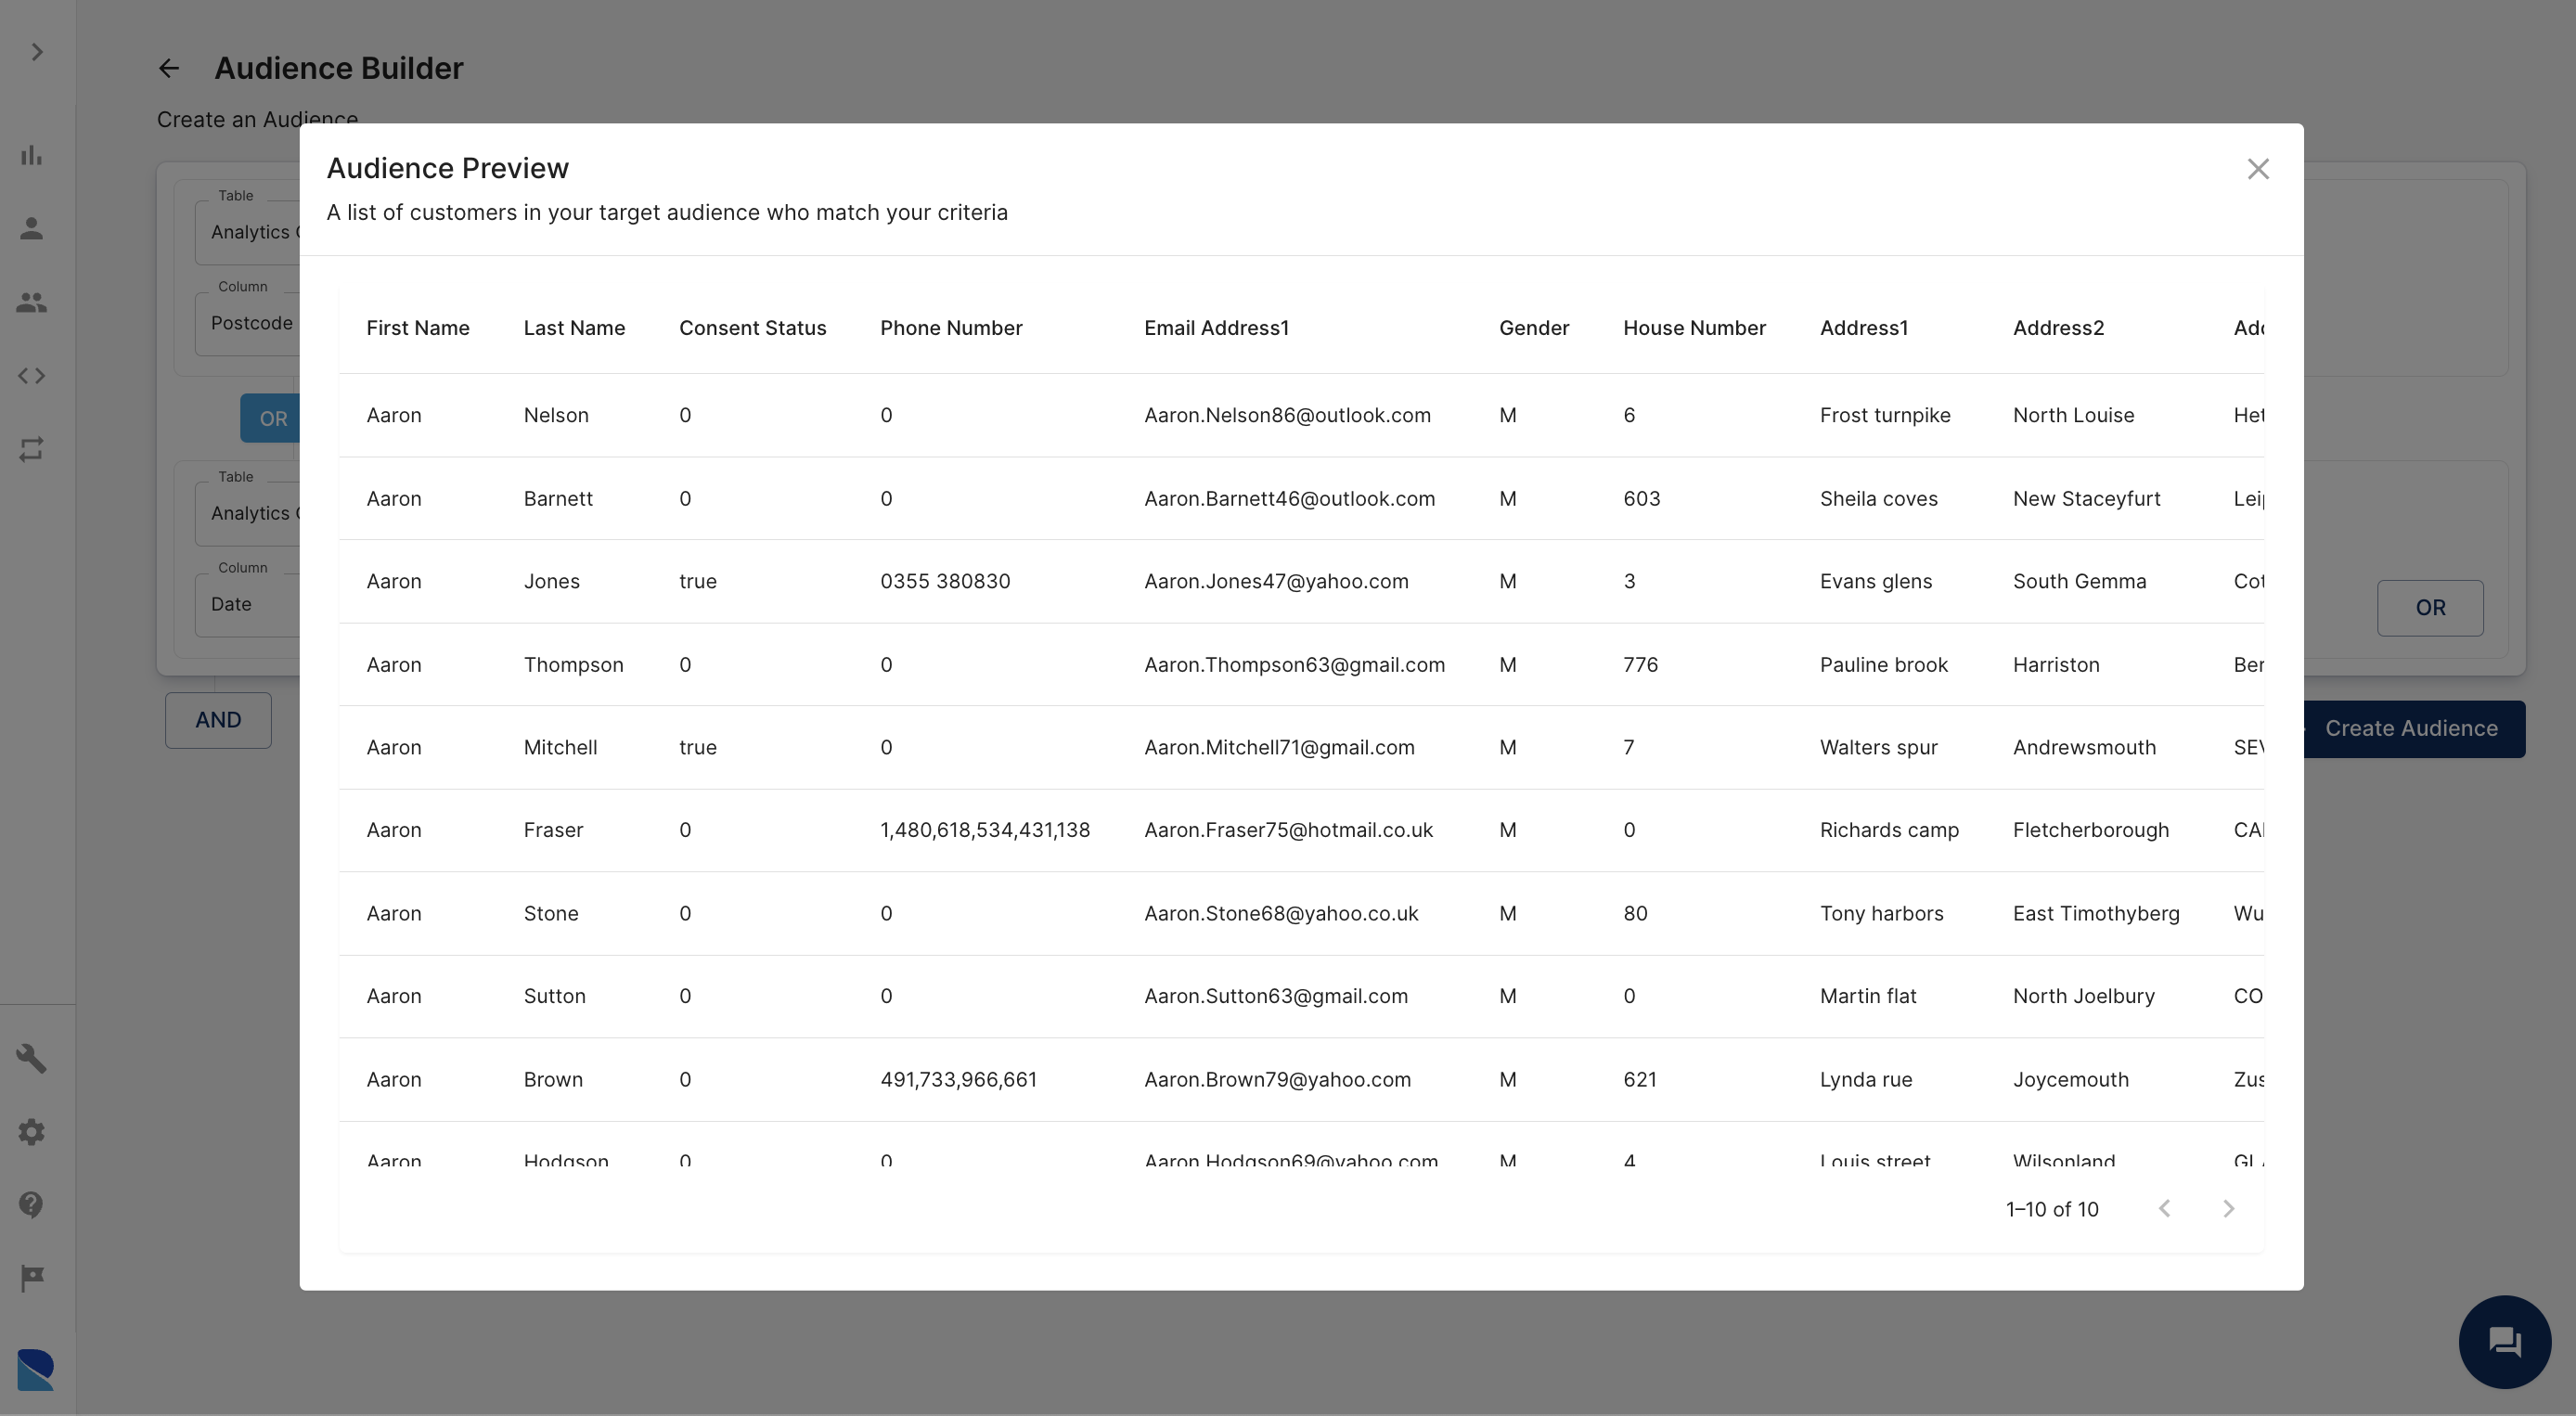
Before creating or saving the audience you might want to preview its data. Click the Preview button to view a subset of the data in a modal window.
Step 5 - Saving Your Audience
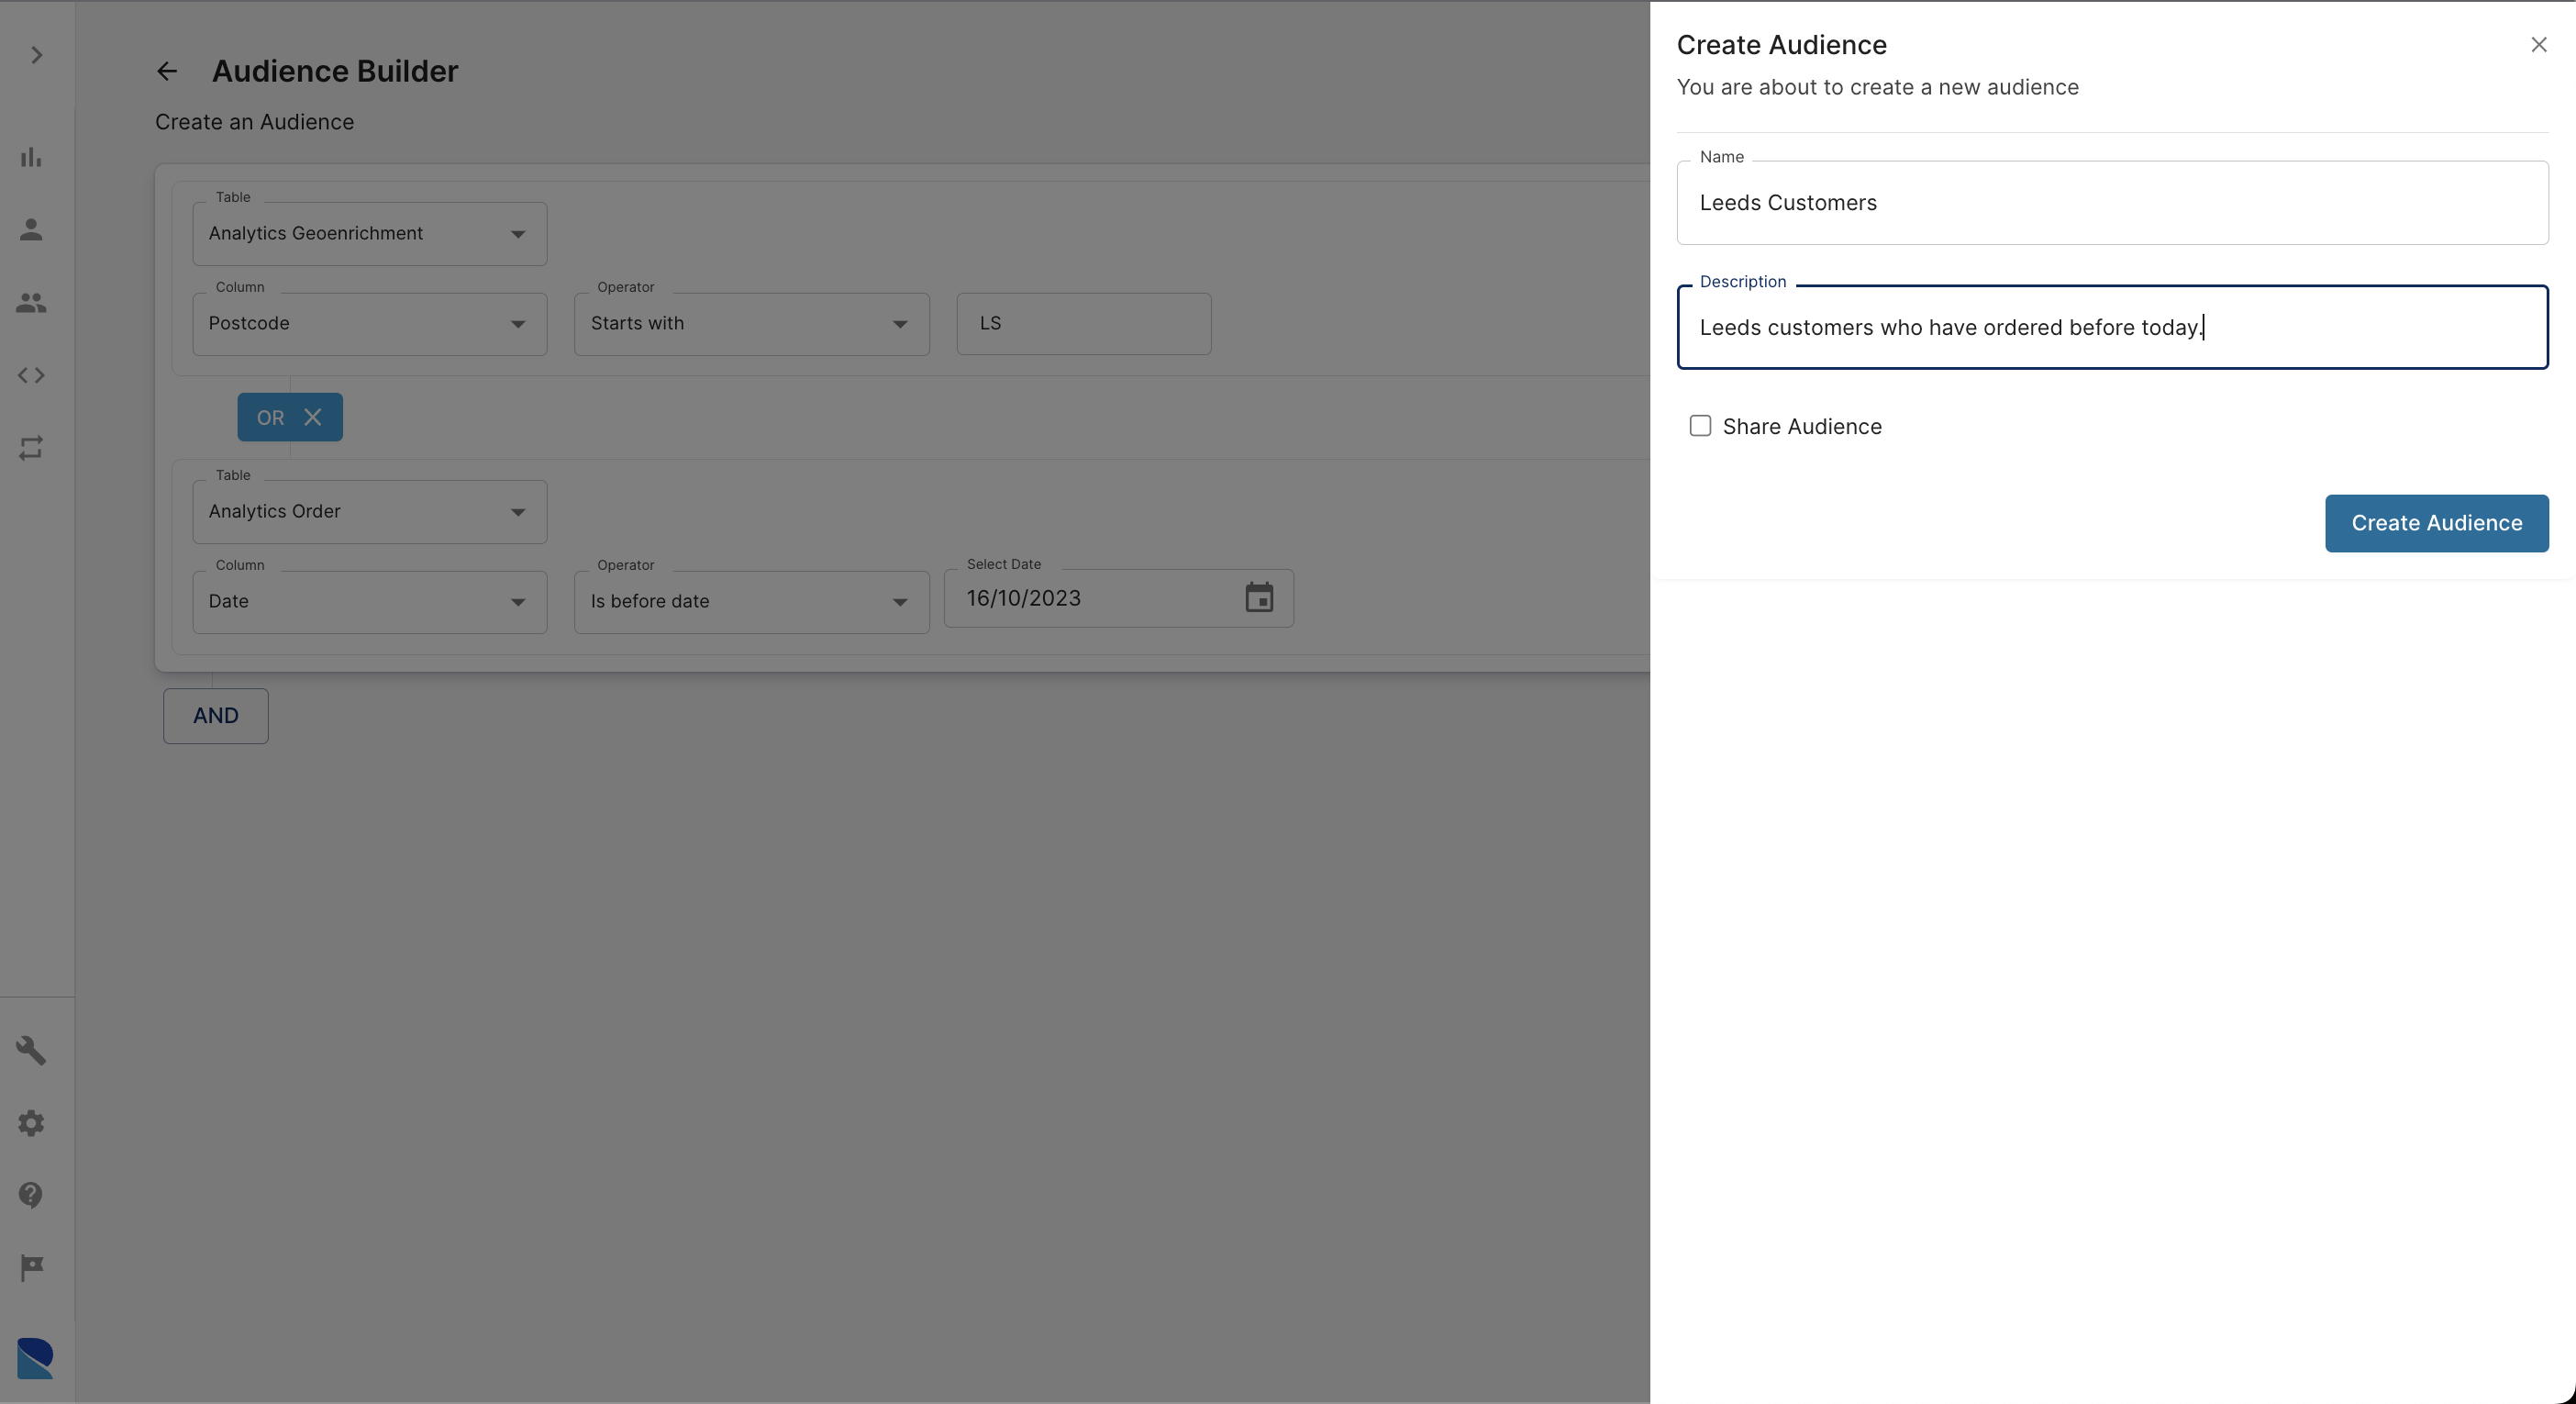
Once you are satisfied with the audience criteria, proceed to save it.
Click the Create Audience button to open the side drawer. Provide a name and description for this audience. Then click Create.
Step 6 - Viewing Your Audience
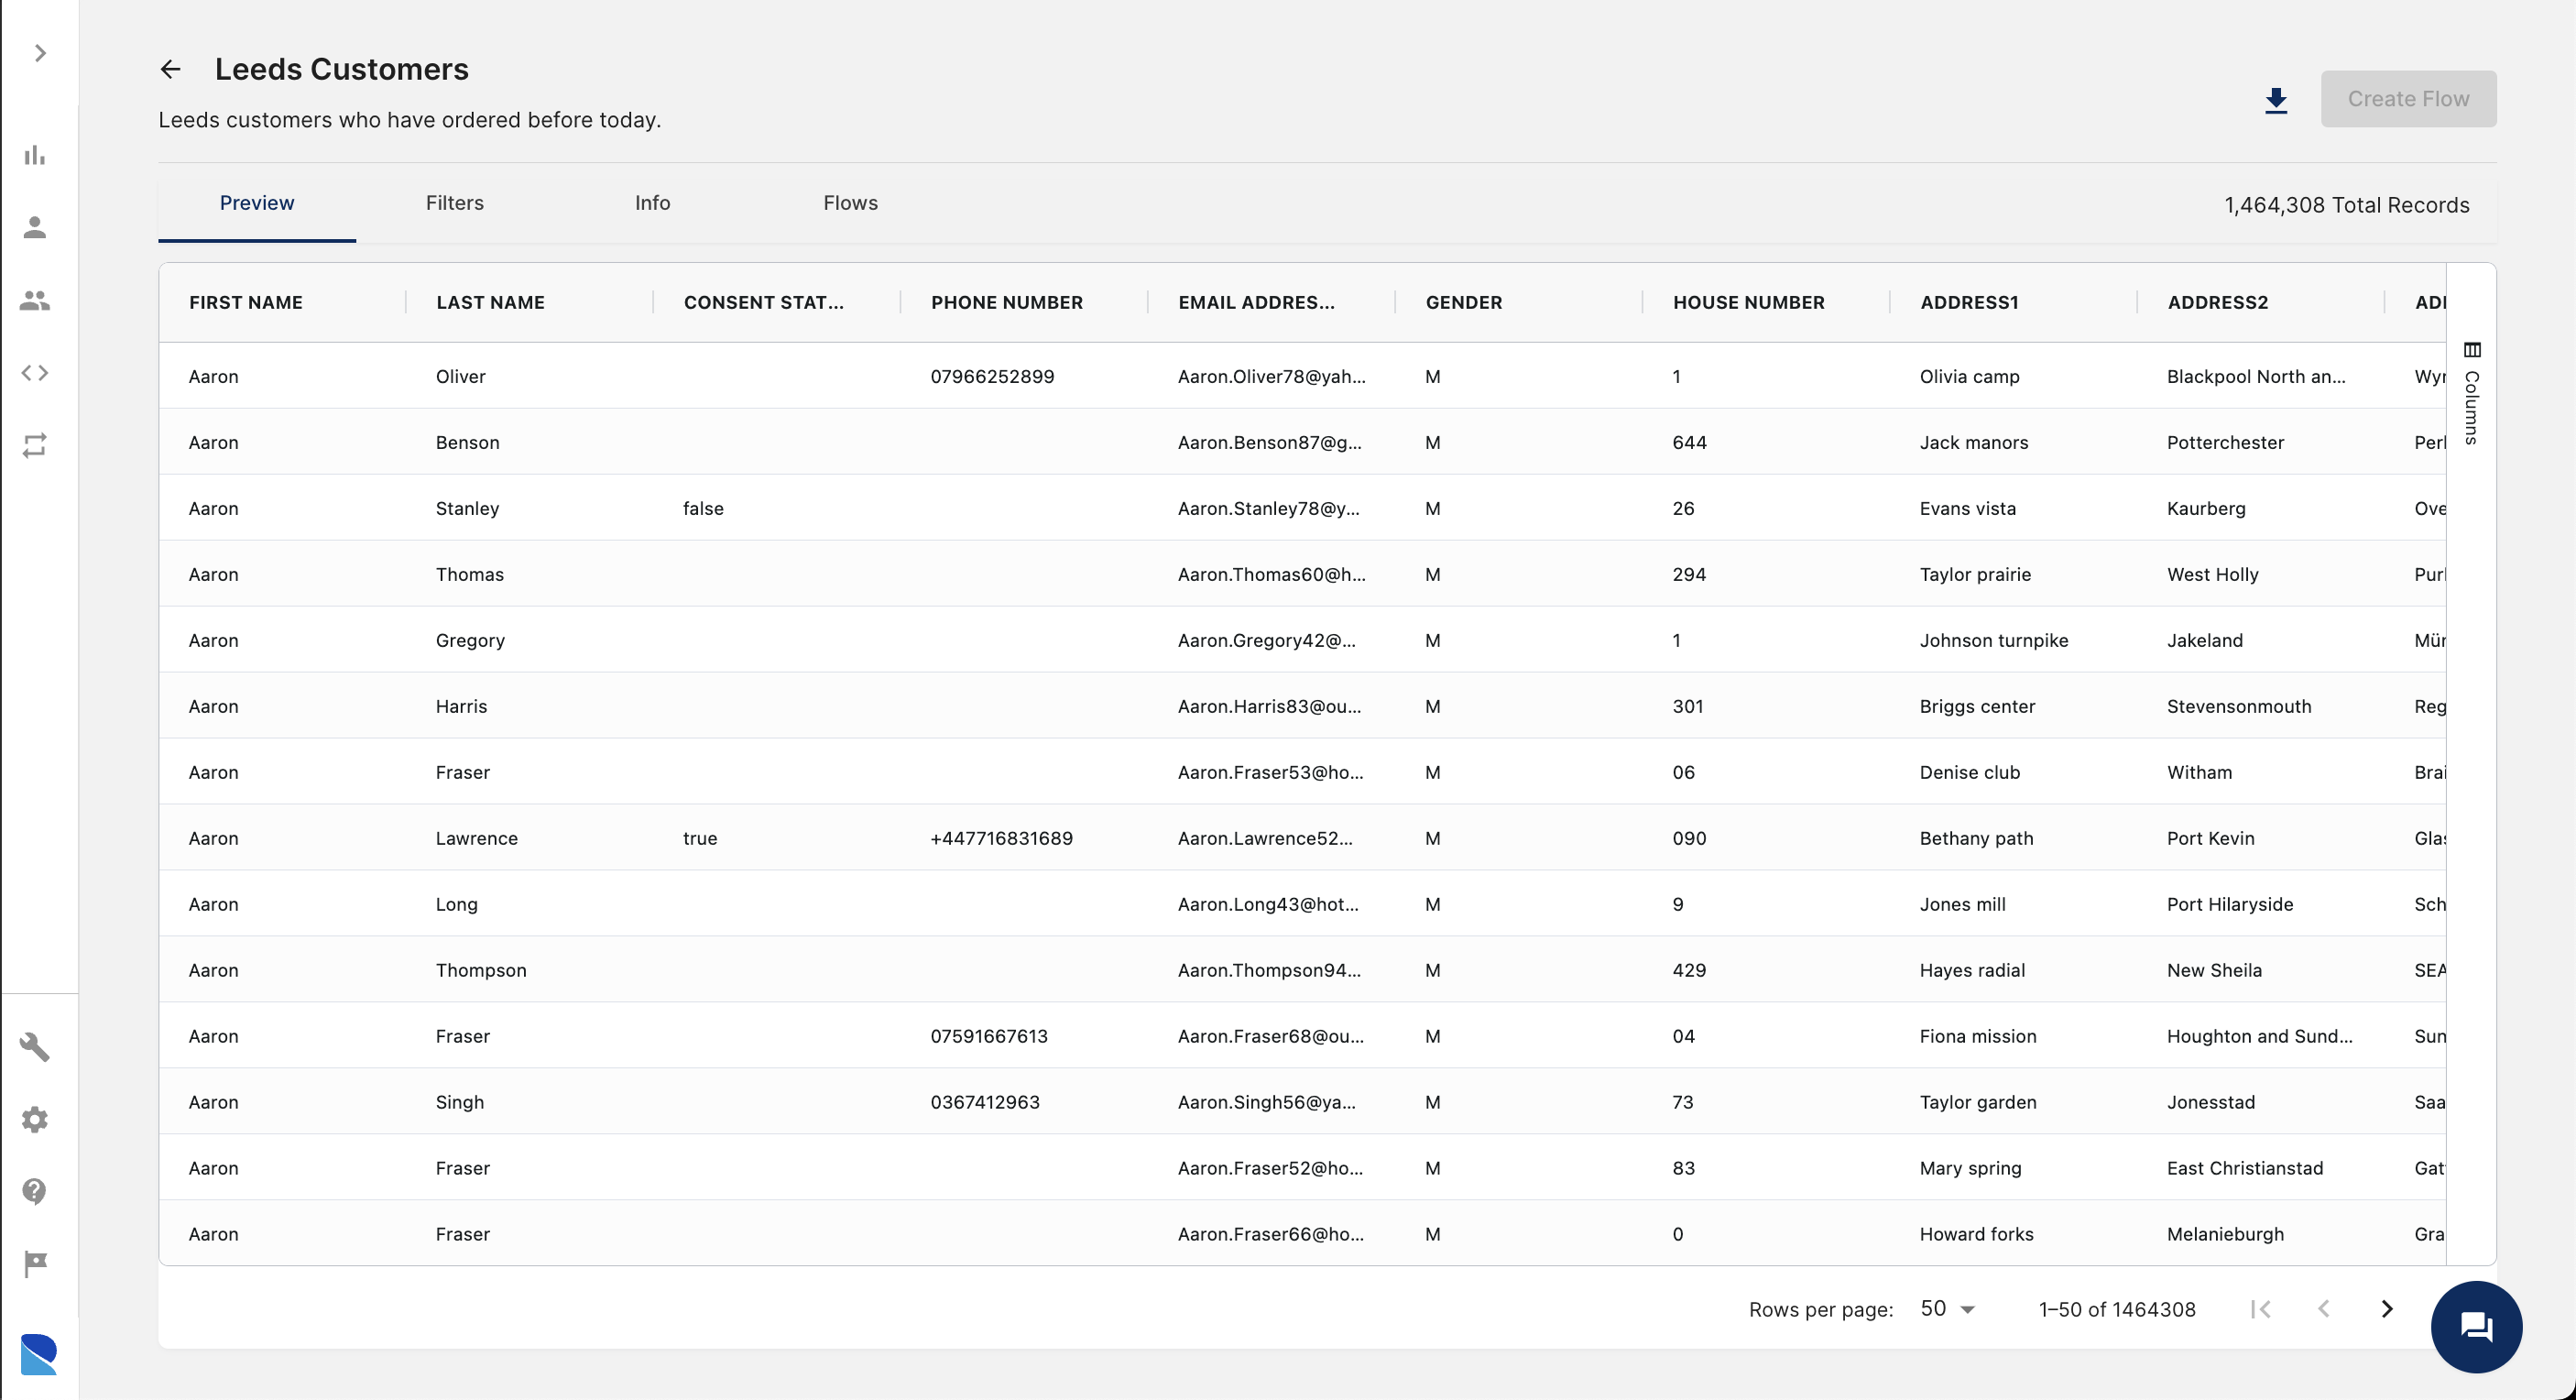
Upon creating the audience, you will be redirected to the Audience Details screen. Here, you can:
- Export audience results as a file
- Preview the audience result, displaying customers that match your filter criteria.
- View the applied filters for this audience.
- Access information about this audience, including its creator and creation date.
- Publish these customer profiles to other tools, such as Mailchimp, if needed.
Frequently asked questions
TODO Think of some better questions to ask
Blah blah blah blah
TODO Think of some better questions to ask
Blah blah blah blah
TODO Think of some better questions to ask
Blah blah blah blah
TODO Think of some better questions to ask
Blah blah blah blah
TODO Think of some better questions to ask
Blah blah blah blah